
Microgreen-Baby Green Growth & Harvest
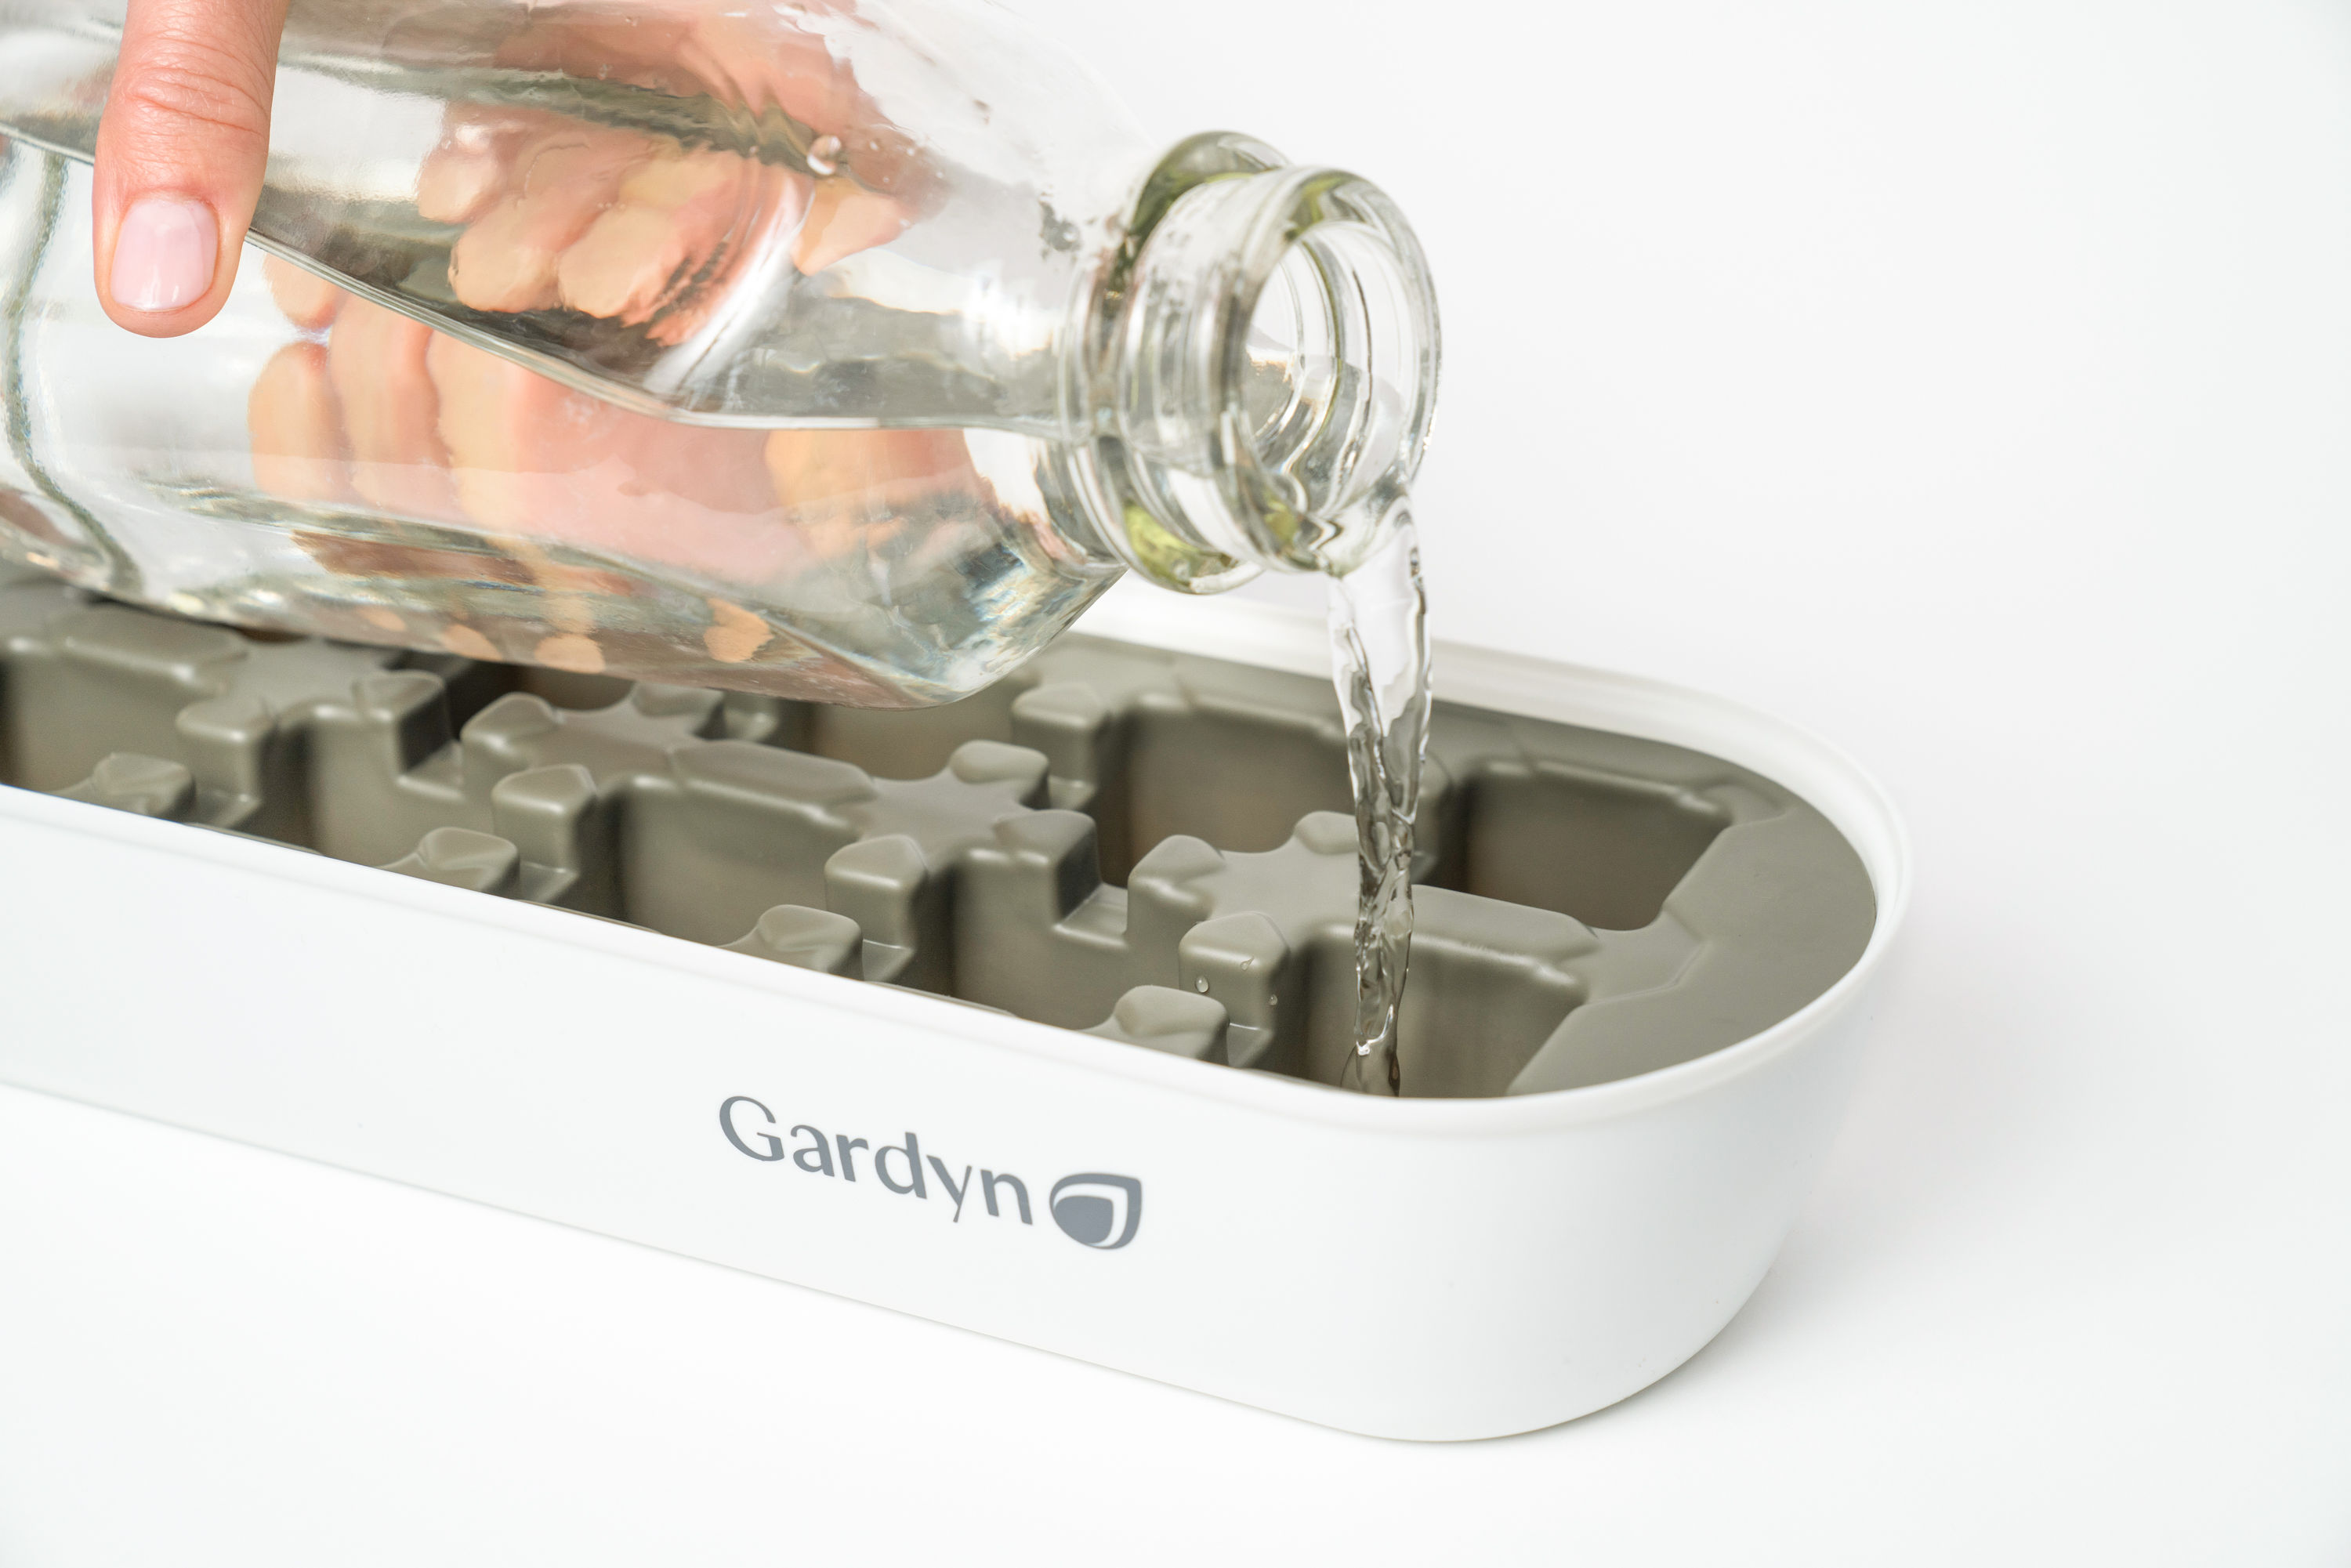
What kind of water is best to add to the nursery?
Fresh, clean, tap water that you would personally drink is the only type of water your Microgreens need to thrive.
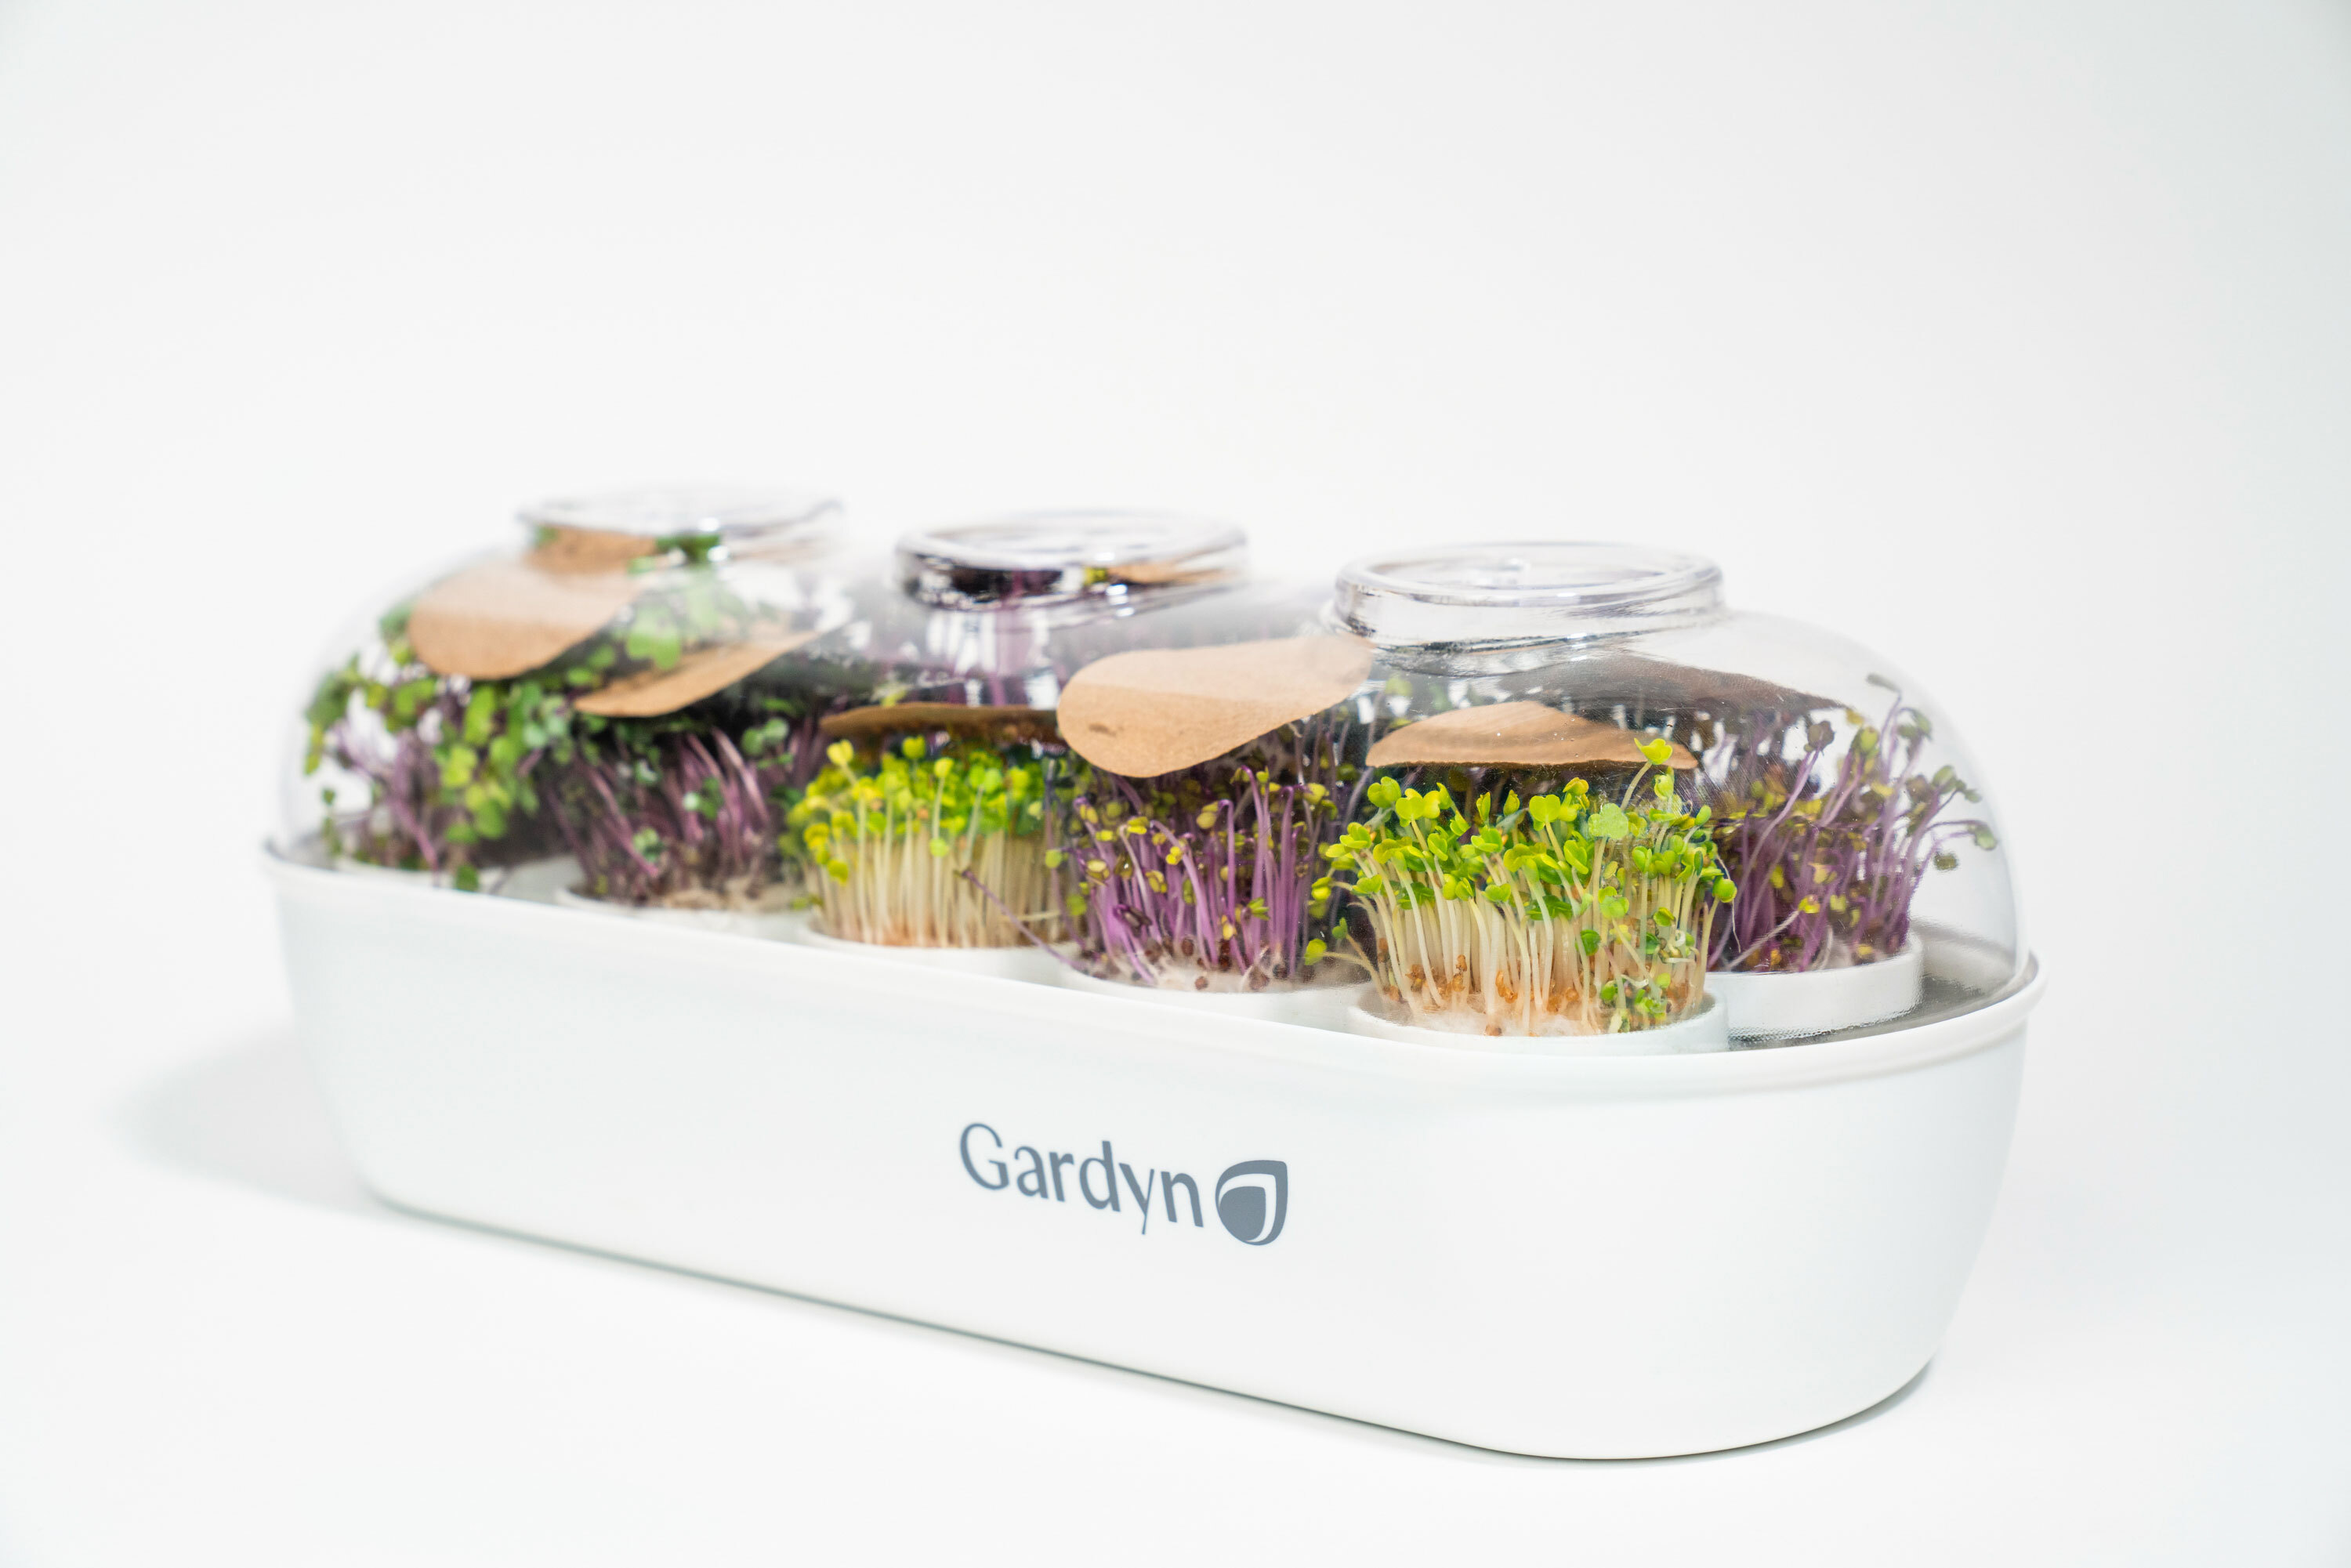
Why is the cover paper important?
The cover paper helps simulate the period a seed would spend in the ground, giving your Microgreens a chance to germinate. This helps encourage stem elongation, resulting in more tender Microgreens. The length of the germination period ranges from 2-8 days depending on the type of Microgreens, temperature, and humidity levels.
When do I remove the cover paper?
Wait to remove the cover paper until your Microgreens push it off/to the side, typically around days 8-14 of growth.
If you try to remove the paper and it does not feel immediately loose, don't pull it! This is a sign your Microgreens still need the paper, and tugging on the paper could damage them.
The exception is if your Microgreens have passed their cover paper removal day according to the variety's growth timeline, or the sprouts look ready (where visible), but there is just 1 small area of the paper sticking. In this case, it's best to liberally mist the top paper with clean water to help break down the food-safe glue and gently remove the paper while wet to keep your sprouts' development on track.
Once you remove the cover paper, it’s also best to remove the Nursery’s lid to increase air circulation as your Microgreens grow.
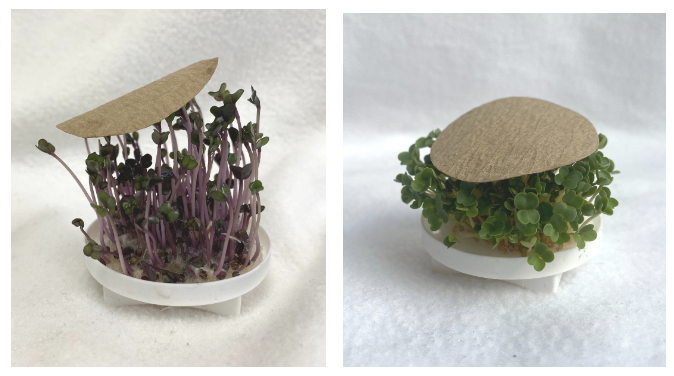
Cover paper off to the side (Red Acre Cabbage, left) and sitting loosely on top (Arugula, right) ready to be removed
Do I need to keep the Nursery’s lid on through the whole life cycle?
Once you remove the cover paper, it’s also best to remove the nursery’s lid to increase air circulation as your Microgreens grow. Removing the lid prior to this, however, could slow your Microgreens’ growth and cause the cover paper to stick to your Microgreens.
Can I start germinating new Microgreen seed pads if I already took my nursery's lid off?
We recommend waiting to start new seed pads until you've harvested your other Microgreens so that you can germinate the new seed pads with the nursery's lid on. Without the lid, lower humidity levels can make it difficult to germinate new seed pads, and the cover paper may stick to your Microgreens. It's also best to avoid putting the lid back on when you have Microgreens maturing, as the increased humidity levels could lead to rot.
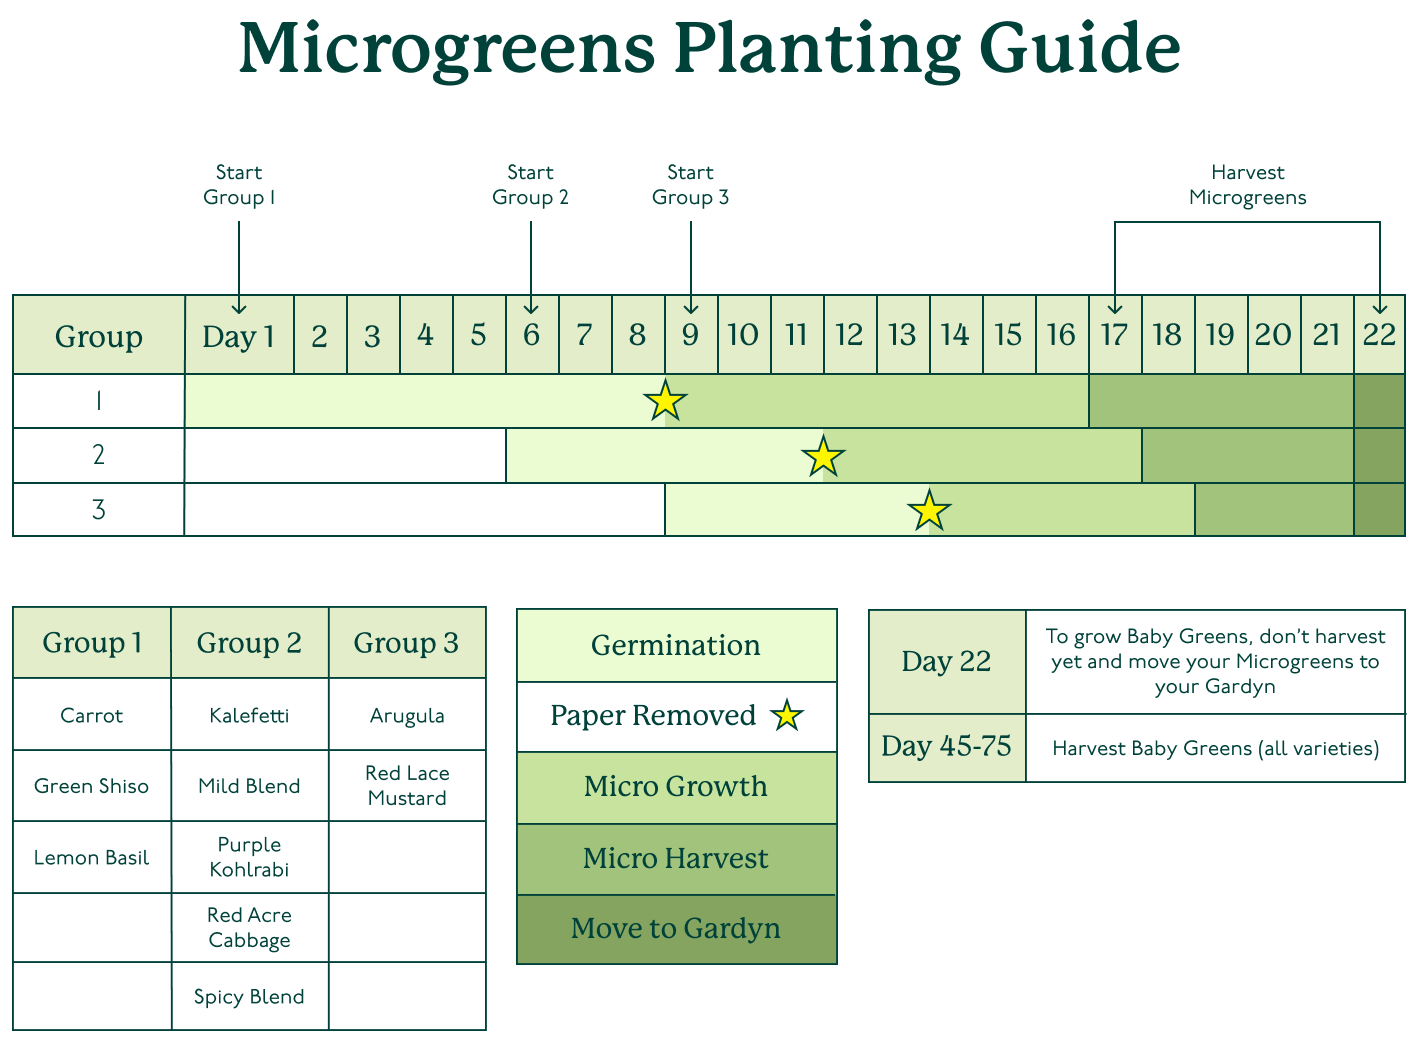
How do I time my Microgreens to harvest different varieties simultaneously?
We did the math so you don't have to. We recommend three different groupings that, when started according to our planting guide, you'll be able to harvest as Microgreens or Baby Greens around roughly the same time.
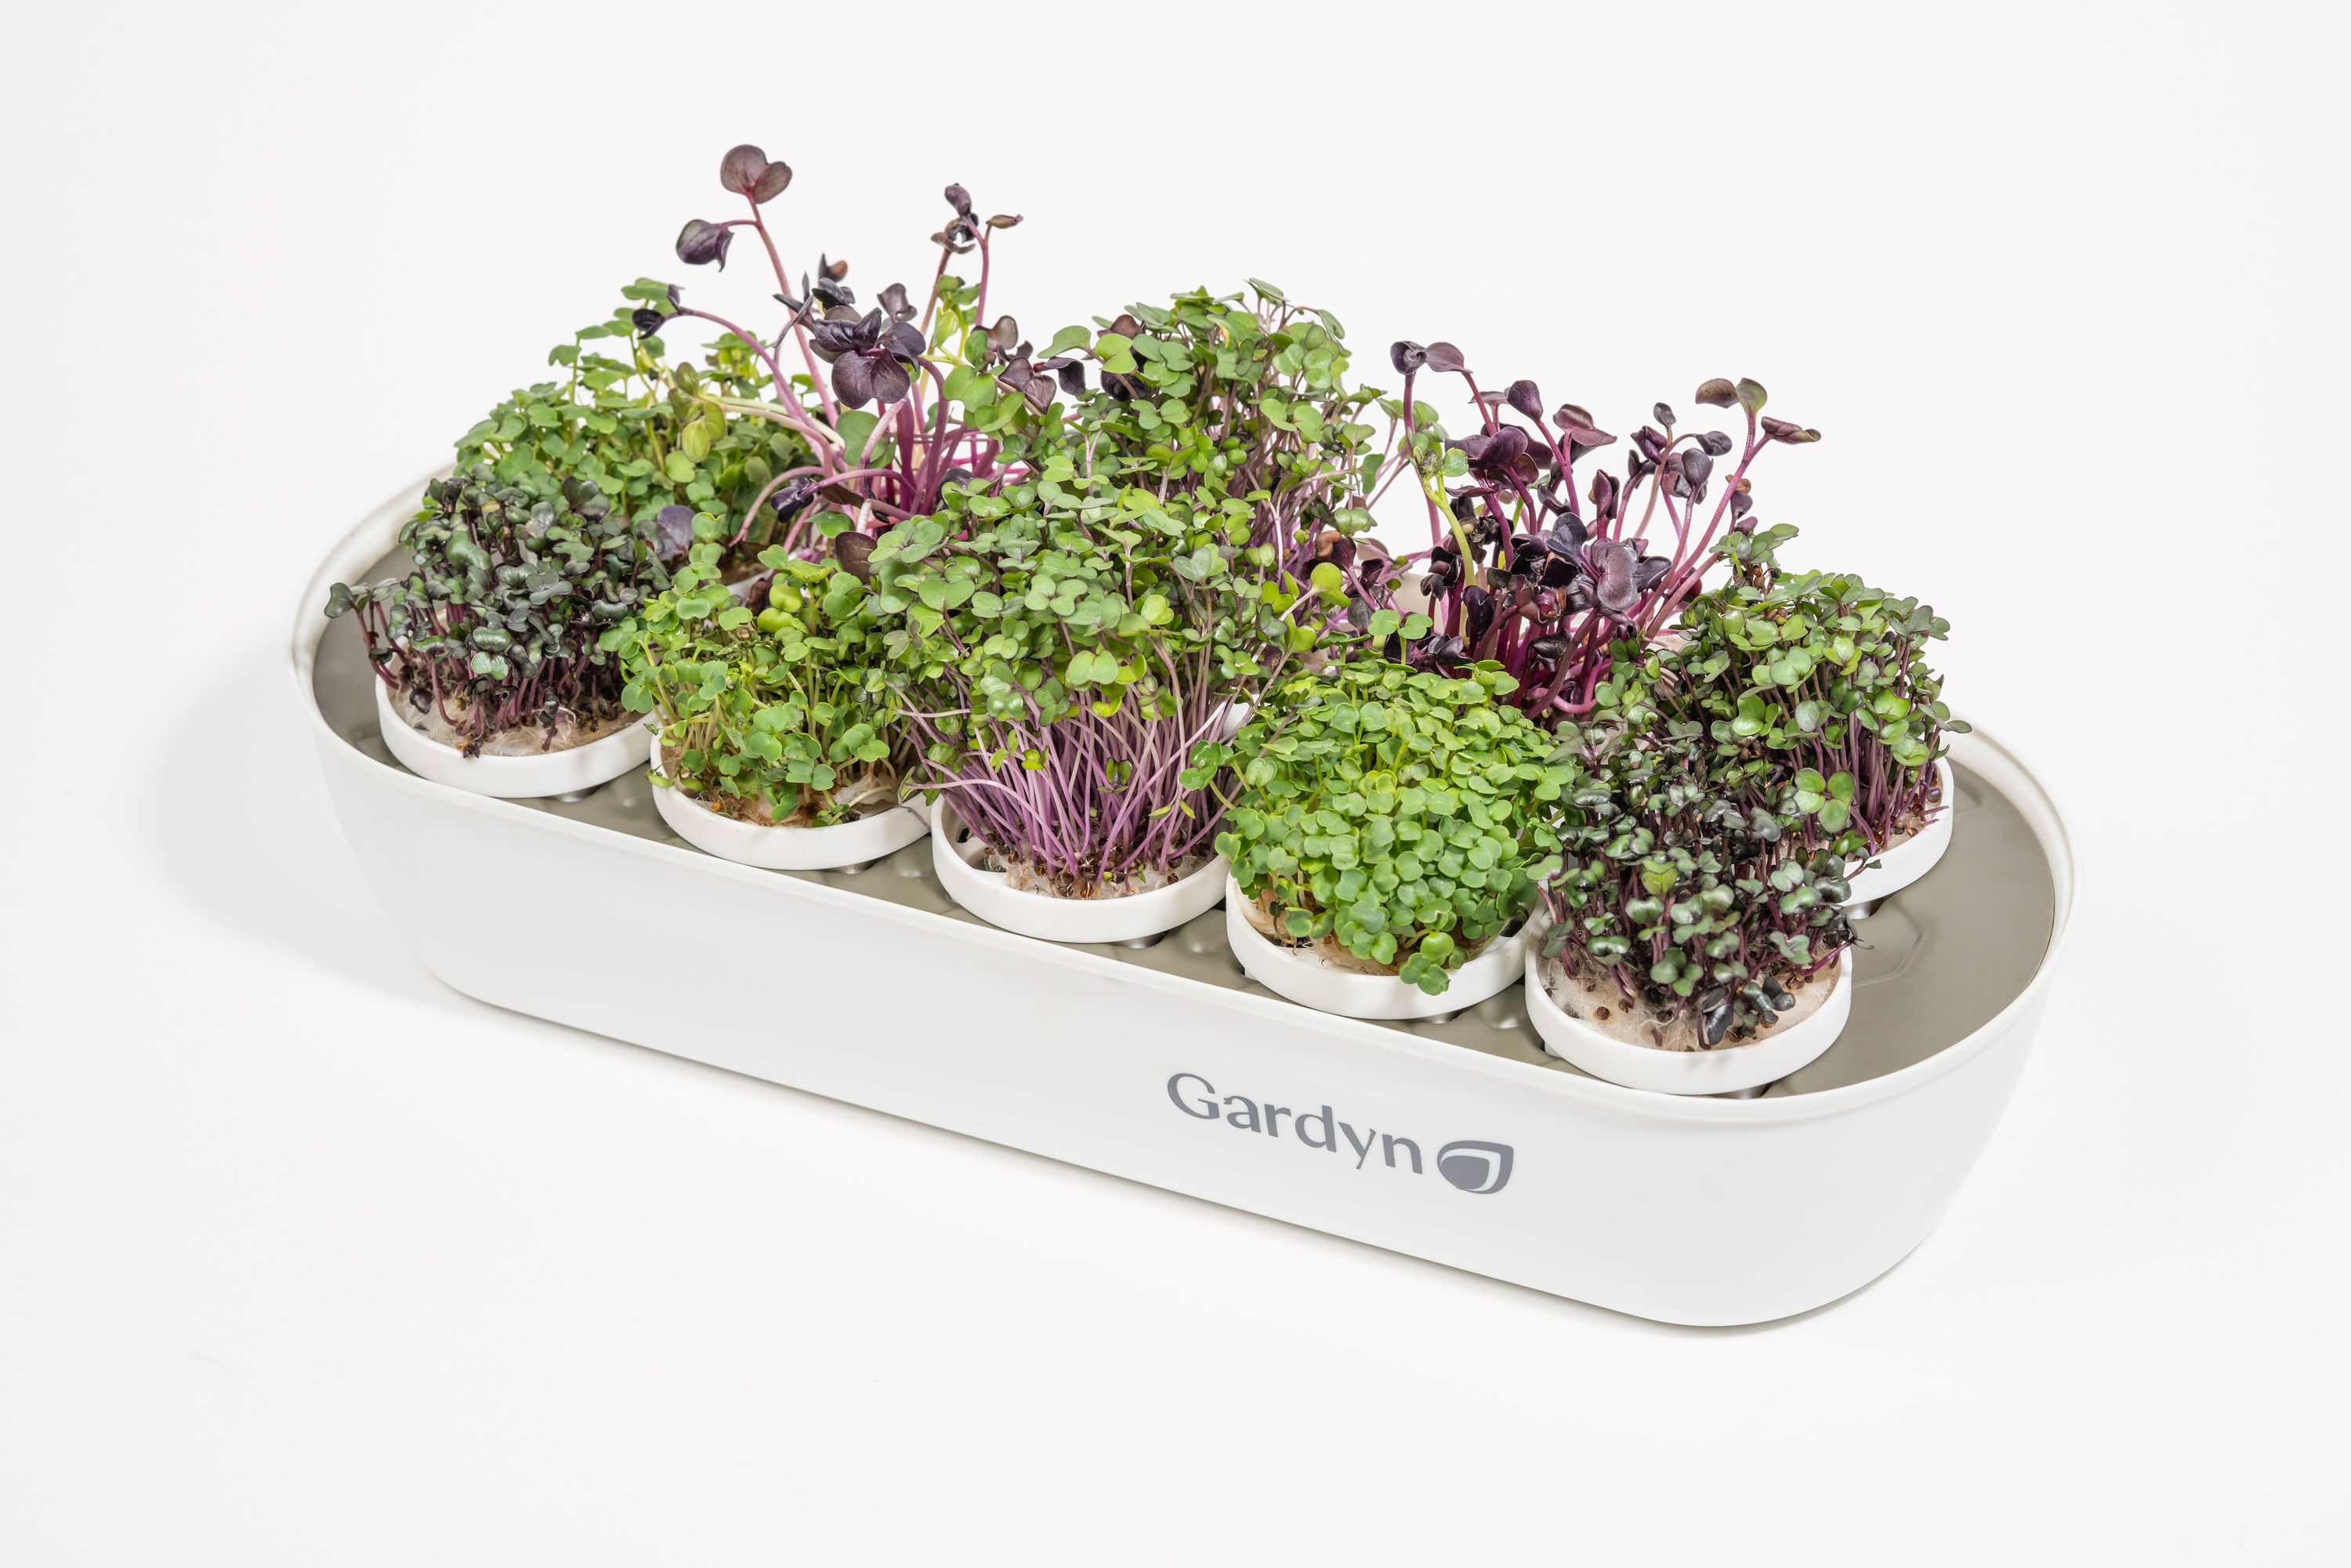
When can I harvest my Microgreens?
You can begin harvesting your Microgreens after removing the cover paper and within the variety's suggested harvest window according to its Plant Book page. For the most flavor and richest nutrients, aim to harvest when you see the cotyledon leaf pair open fully. Waiting to harvest at the Microgreens stage beyond the variety's suggested harvest date range can result in yellowing or stunted growth.
You can let the seedlings continue to grow and harvest them as needed, but nutrient quality and taste will change as true leaves develop.
How do I harvest Microgreens and Baby Greens?
Use clean scissors to cut them just above the seed pad. We recommend harvesting each seed pad all at once.
Will Microgreens and Baby Greens regrow after harvesting?
Second harvests of Microgreens and Baby Greens are rare. While certain varieties are more resilient in regrowing, the growth is slow and the yield reduced. This is because after you first harvest Microgreens or Baby Greens, there are no leaves left to help the plant photosynthesize, or make food. We recommend starting a fresh seed pad after a complete harvest.
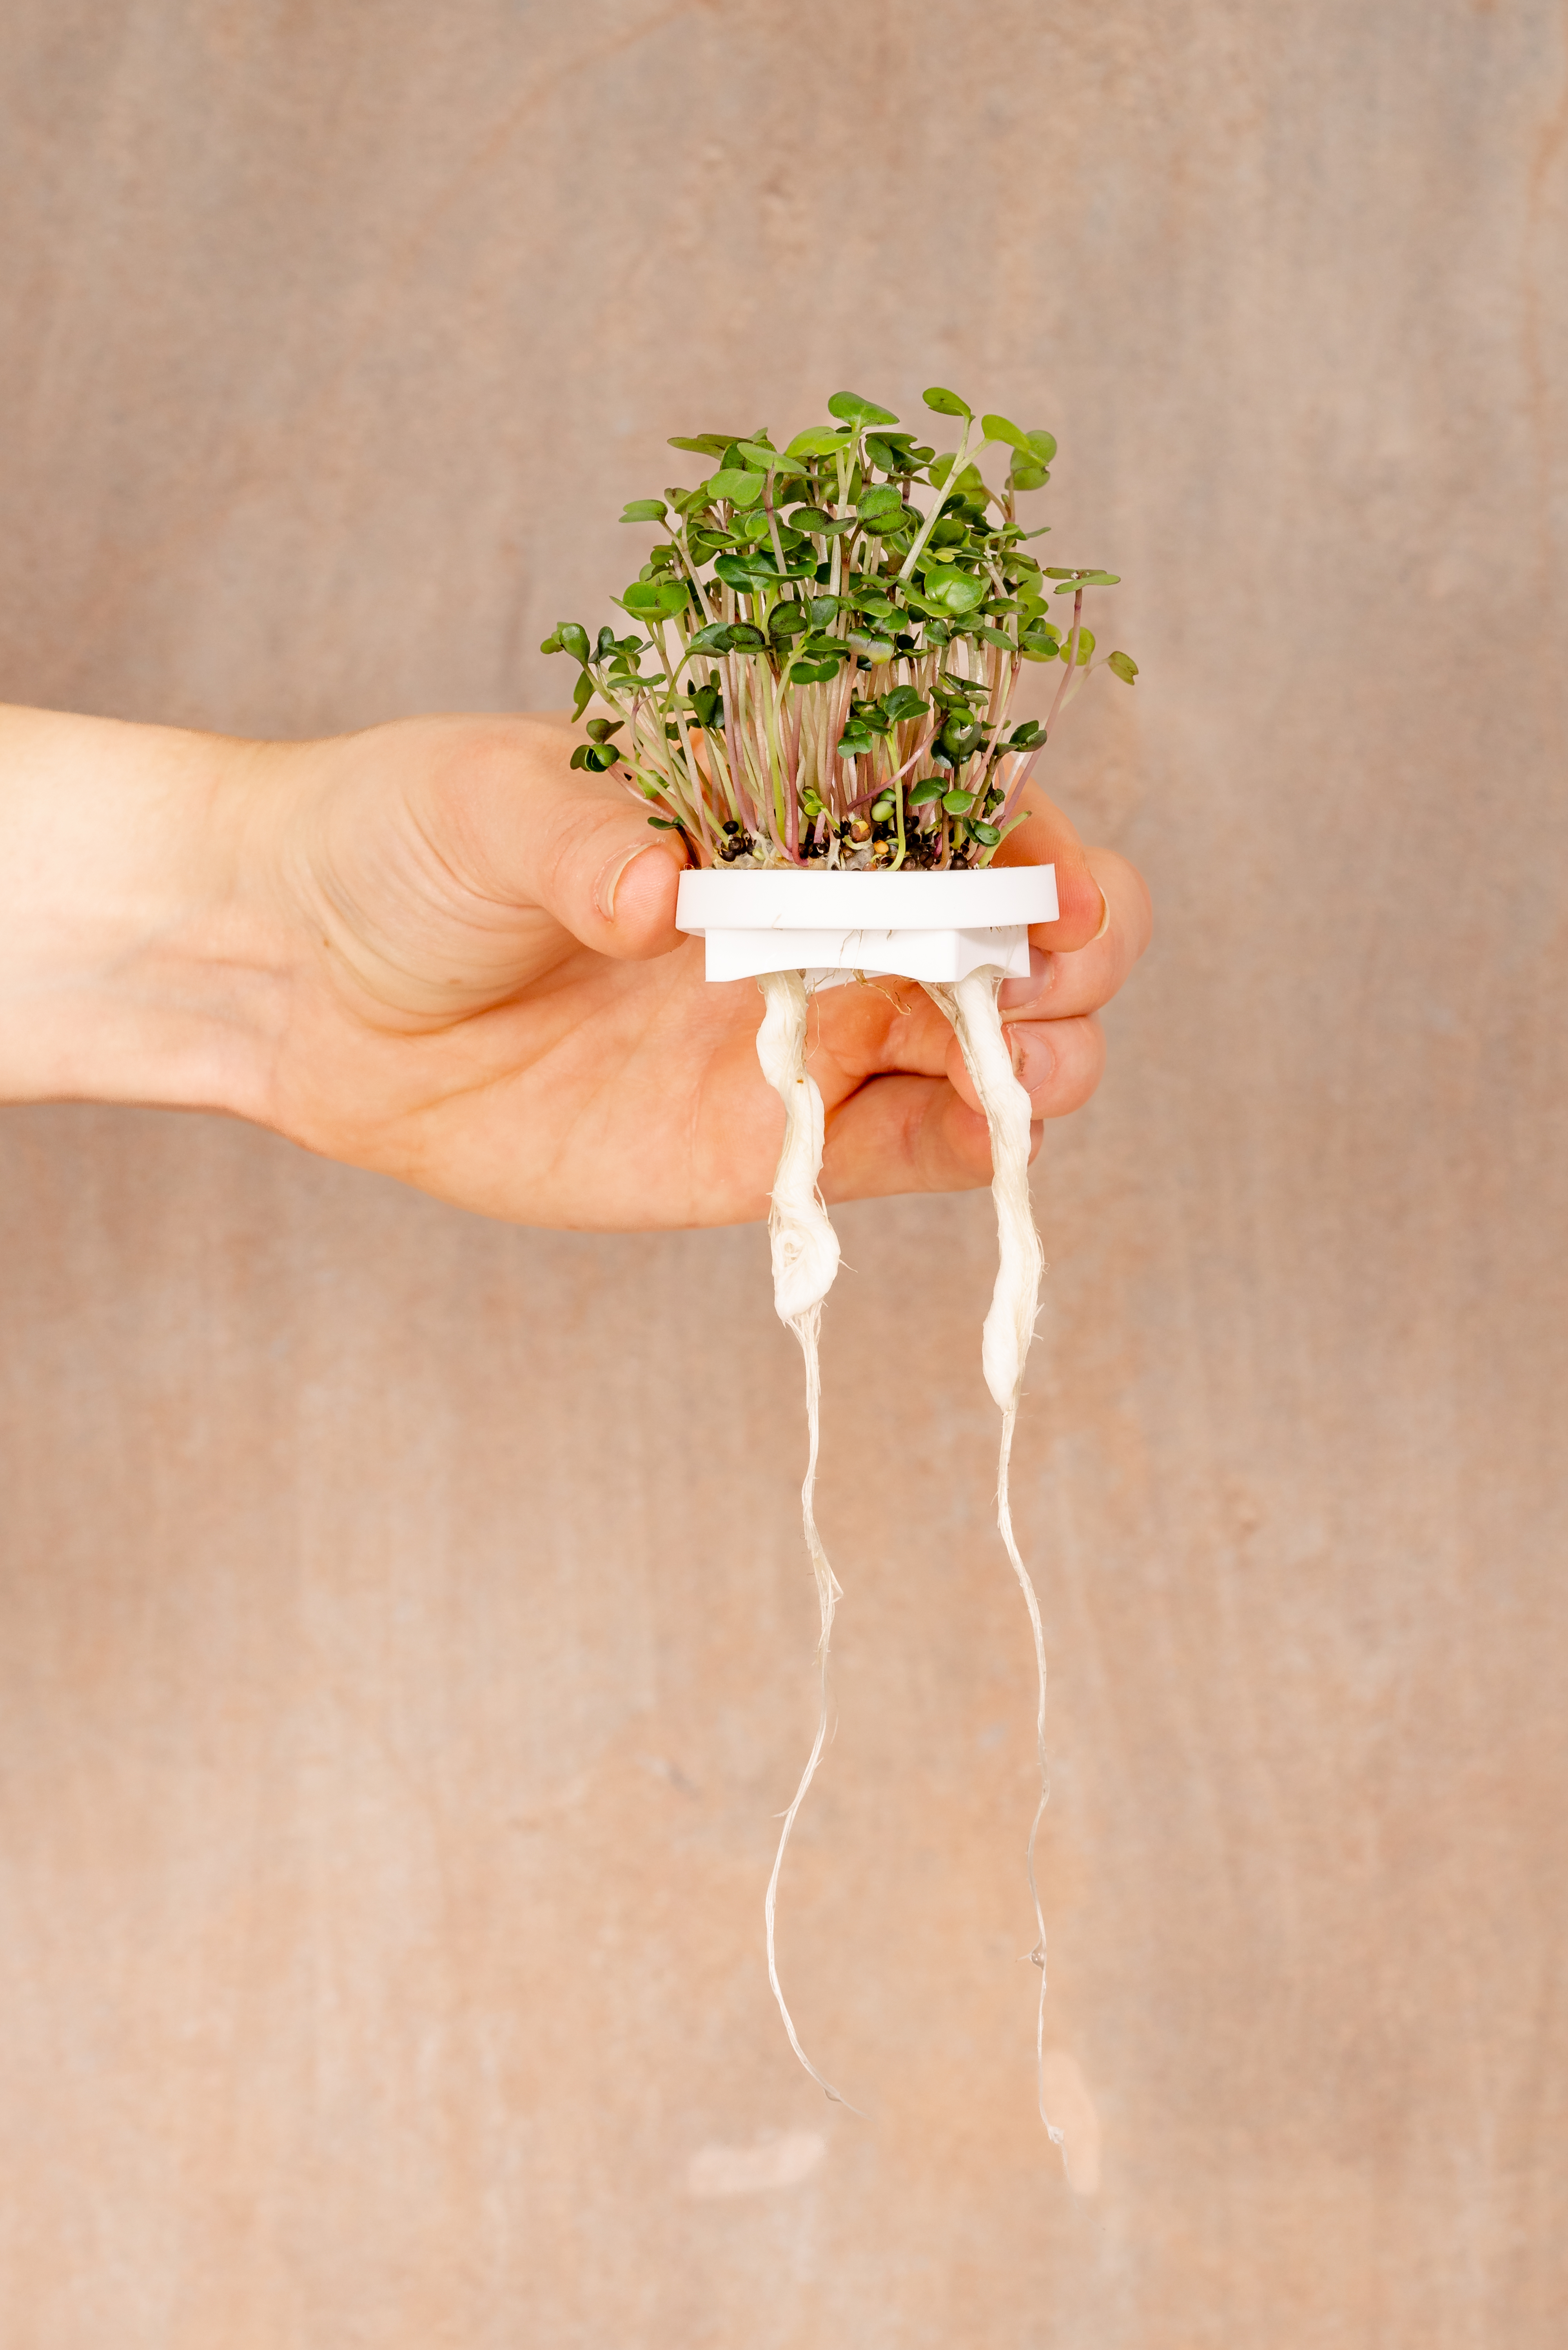
How do I know when my Microgreens are ready to move to the Gardyn?
Microgreens are ready to be moved to your Gardyn once your sprouts have the majority of cotyledon leaf pairs open fully, and at least some of the roots are ~2 inches long around the wick. Your Gardyn should have plant food in it (either a sprout dose or a full dose is okay).
Where is the best place on my Gardyn to put my Baby Greens?
Because it only takes 1-2 weeks of plant food and light on your Gardyn for Baby Greens to be harvest-ready, their specific location does not matter. Simply pop on the support plate with your seed pad wherever you have an available yPod on a column!
Why can I place Baby Greens on a Gardyn with a full dose of plant food at the Microgreens stage - won’t that hurt them?
The Microgreens seed pad develops roots much faster than a yCube, so even though there are no true leaves showing, their roots are more robust and able to take up a full dose of plant food without harming the Microgreens. This follows our guidance on plant food readiness, where roots are just one of three possible indicators that a plant is ready to be nourished, rather than harmed, by a full dose of plant food.
Do I need to do anything special once I put the seed pad on my Gardyn?
Ensure you have plant food in your tank (either a sprout dose or full dose is okay), and that your Gardyn is not in Germination Mode. Then, run a watering cycle manually by tapping the Water Tile in your app (and tapping “Proceed” if Smart Watering is on) to ensure your seed pads have immediate access to water and plant food.
When can I harvest Baby Greens after adding them to my Gardyn?
Begin harvesting your Baby Greens either after true leaves have opened on the majority of the pad, or when they are 4-6 inches tall. This typically amounts to 1-2 weeks of growth on your Gardyn, but the exact timing depends on the variety.

Questions? Reach us at support@mygardyn.com, or chat with us. We're here to help!