
The Microgreen-Baby Green Life Cycle

How do I time my Microgreens to harvest different varieties simultaneously?
We did the math so you don't have to. We recommend three different groupings that, when started according to our planting guide, you'll be able to harvest as Microgreens or Baby Greens around roughly the same time.
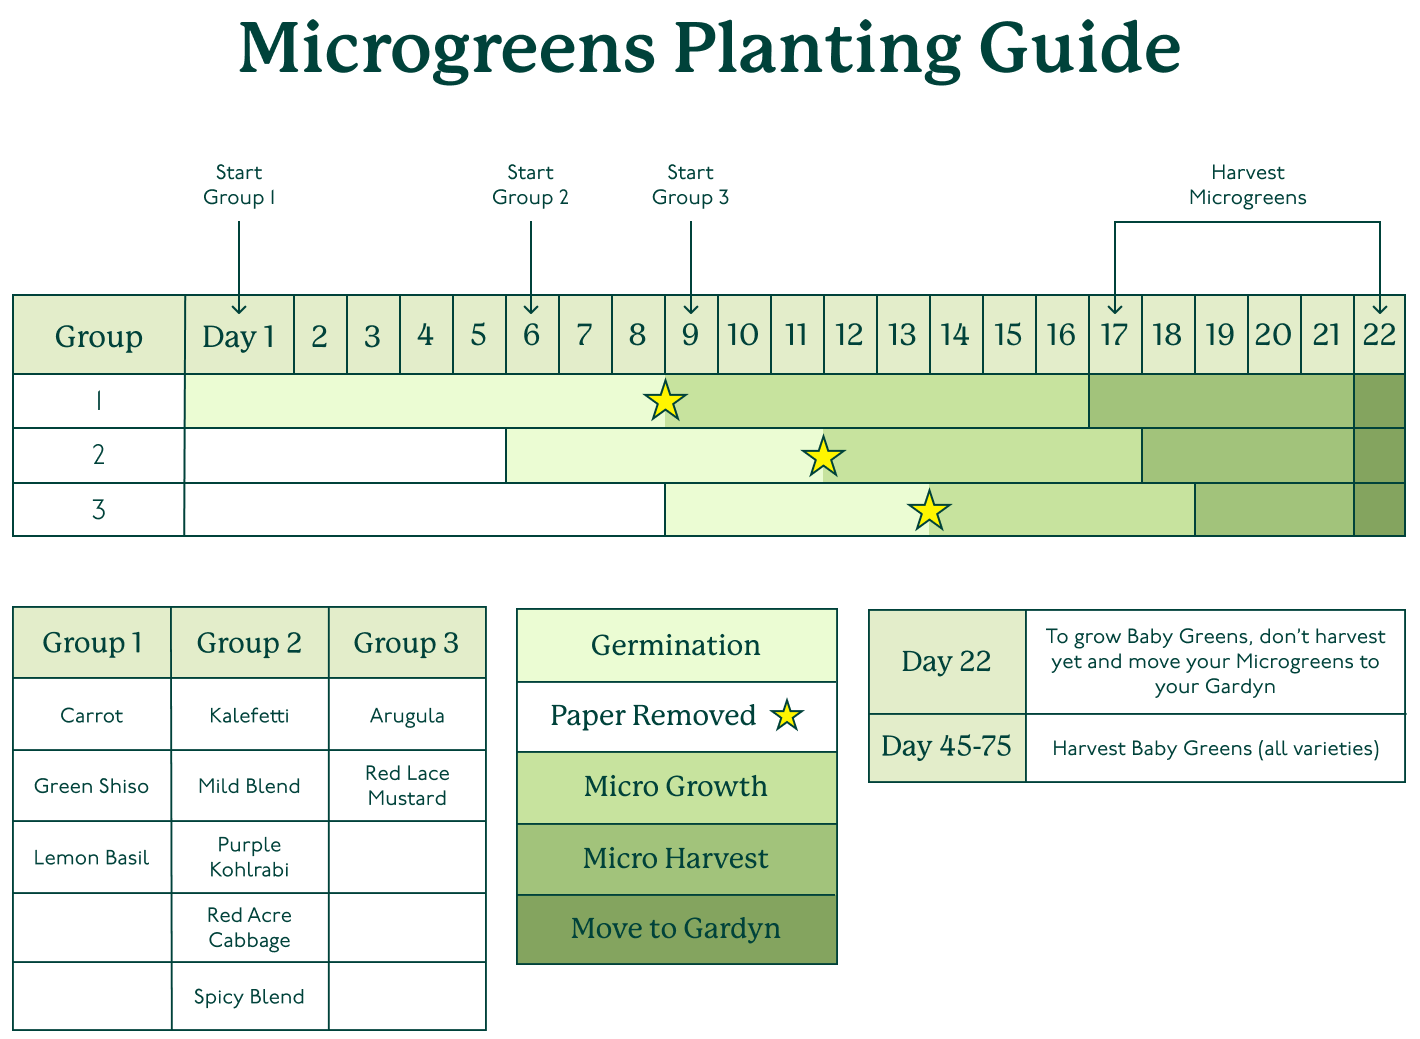
Stage 1: Germination, 1-13 days
The germination period is the first growth stage for Microgreens. The seeds begin sprouting beneath the cover paper, which helps prevent light from reaching the seeds prematurely. The length of this period ranges depending on the type of Microgreens, temperature, and humidity levels.

Germinating Kohlrabi sprouts
This time spent under the cover paper simulates the period a seed would spend in the ground, and helps encourage stem elongation, resulting in more tender Microgreens. Our Microgreens come with a compostable cover paper to make this growth stage easy!
Stage 2: Nursery Growth, 9-18 days
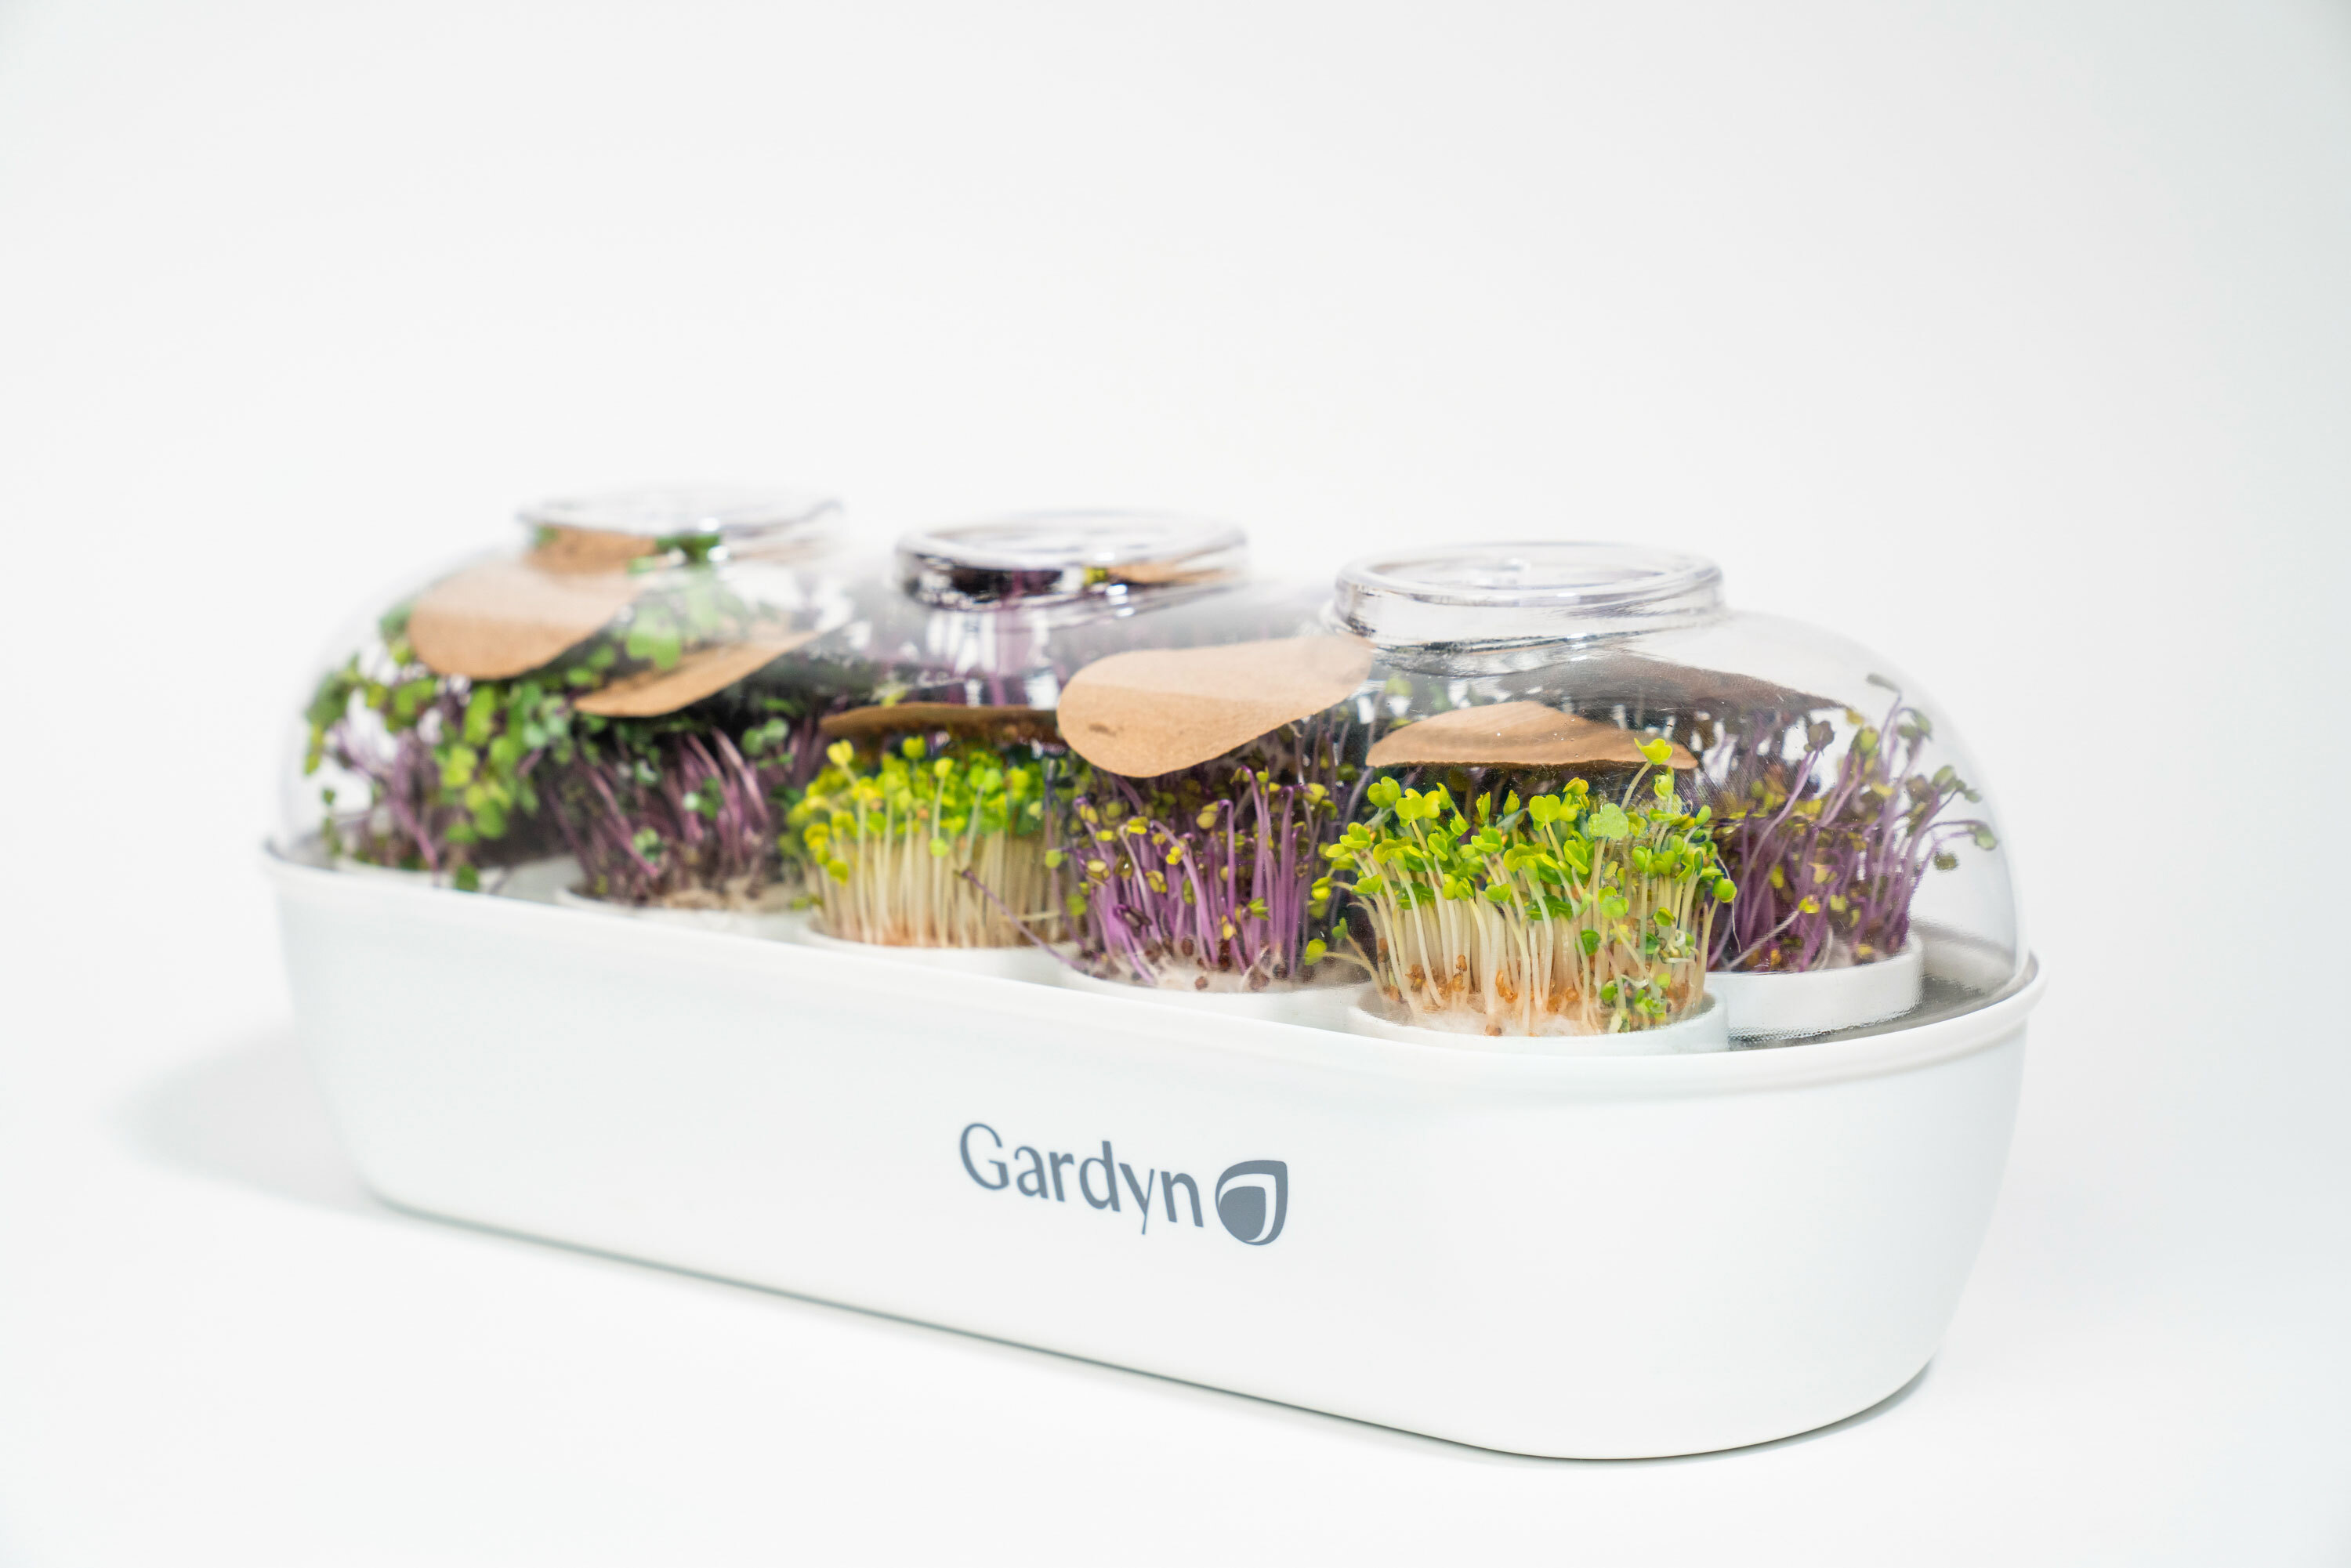
Microgreens push off the cover paper as they grow, typically around days 5-12 of growth. It's best to let your sprouts do most of the work. If you try to remove the paper and it does not feel immediately loose, don't pull it! This is a sign your Microgreens still need the paper, and tugging on it could damage your Microgreens.
Once you remove the cover paper, it’s also best to remove the nursery’s lid to increase air circulation as your Microgreens grow.
Cover paper sticking in just one place, when the rest of your Microgreens look ready for it to be removed?
Simple spray with water to help release the paper without damaging your sprouts:
Stage 3: Harvest as Microgreens OR Grow Into Baby Greens on Gardyn, 17-21 days
You can begin harvesting your Microgreens after removing the cover paper and within the specific variety's suggested harvest window according to its Plant Book page. For the most flavor and richest nutrients, aim to harvest when you see the cotyledon leaf pair open fully.
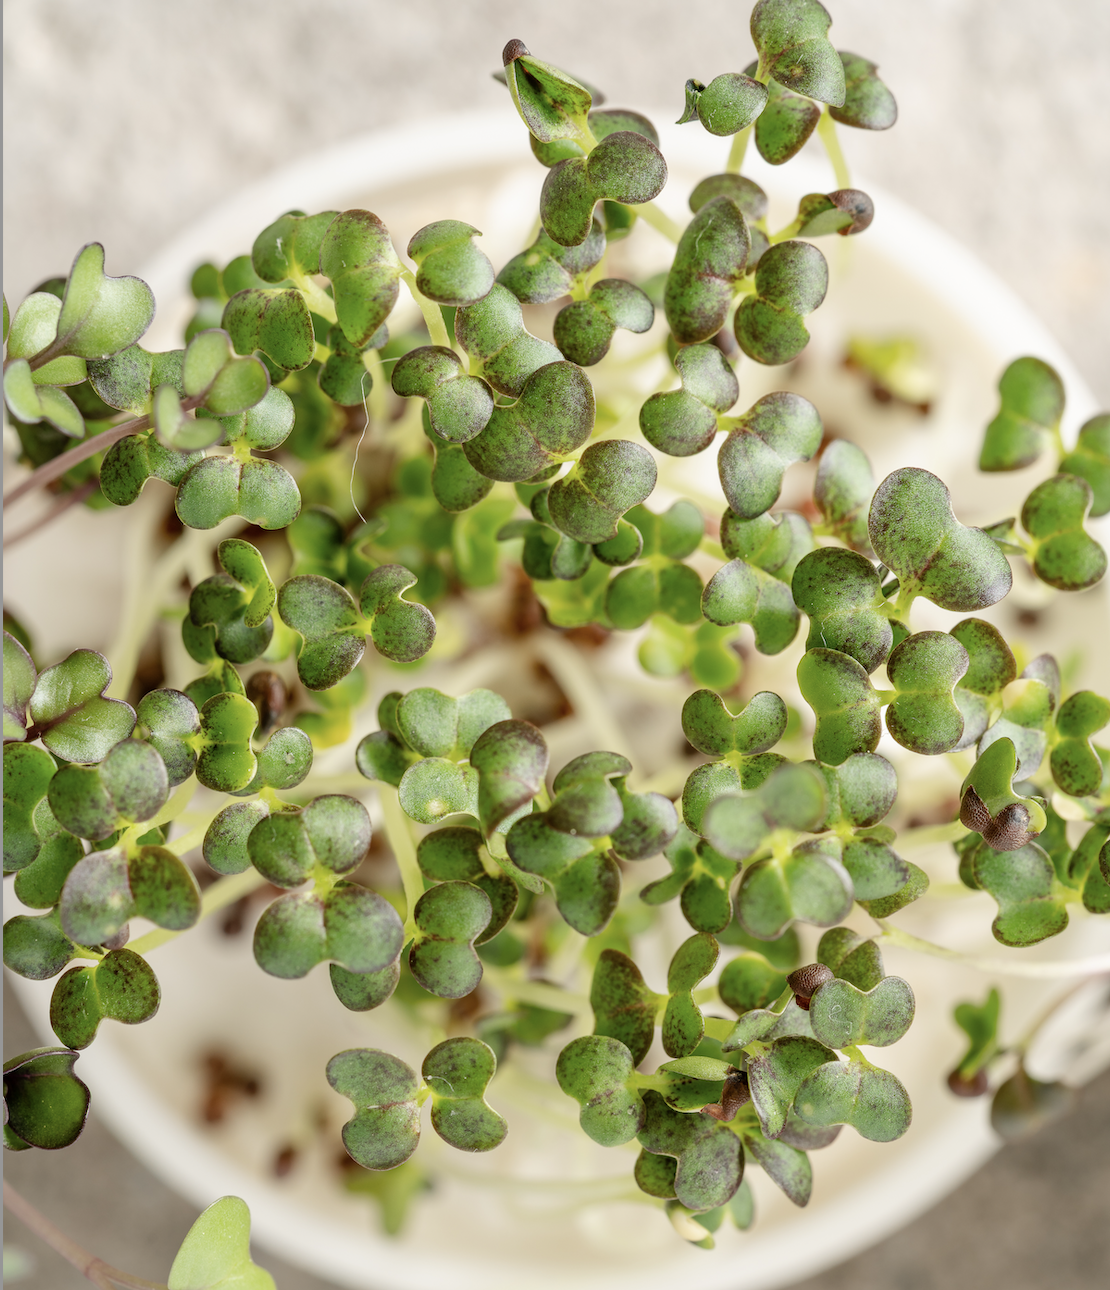
Microgreen cotyledons opened flat like a book/open palms, ready to harvest.
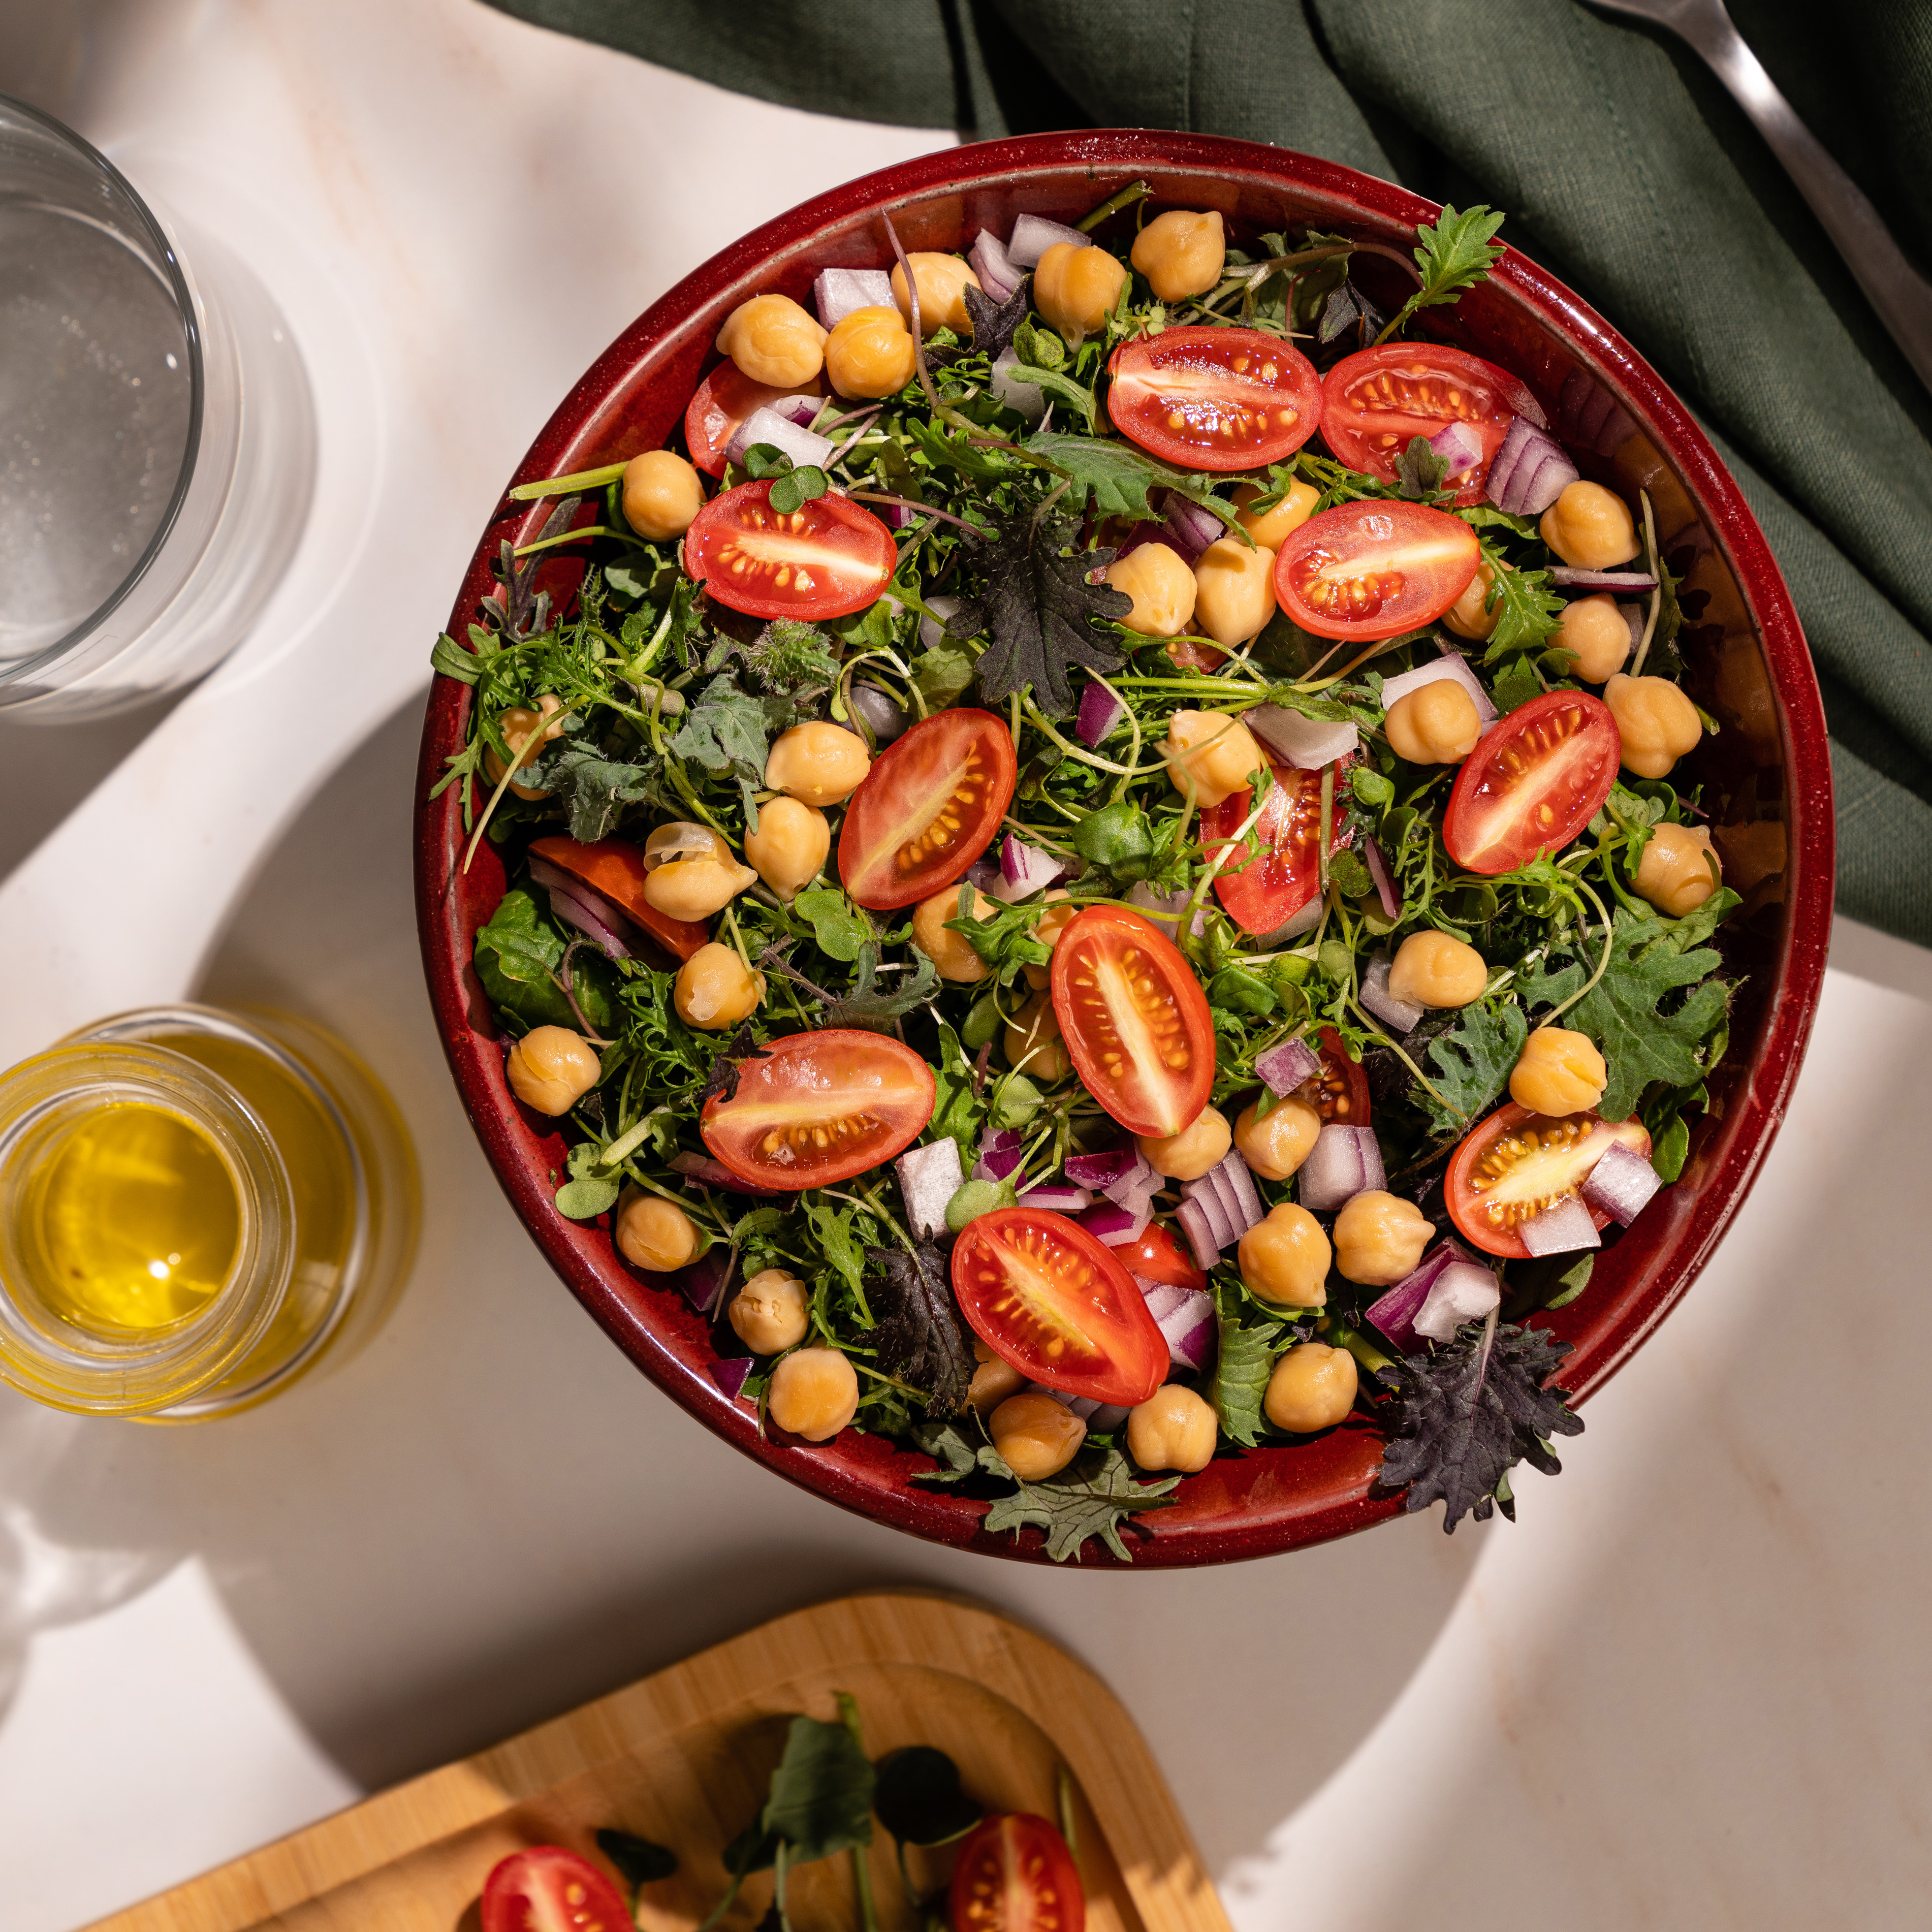
To harvest your Microgreens, use clean scissors to cut them just above the seed pad and enjoy sprinkled over any dish!
As an alternative to harvesting at this stage, you may also choose to progress your Microgreens to the Baby Greens stage. To do this, your Microgreens need access to plant food and stronger light, which is where your Gardyn comes in!
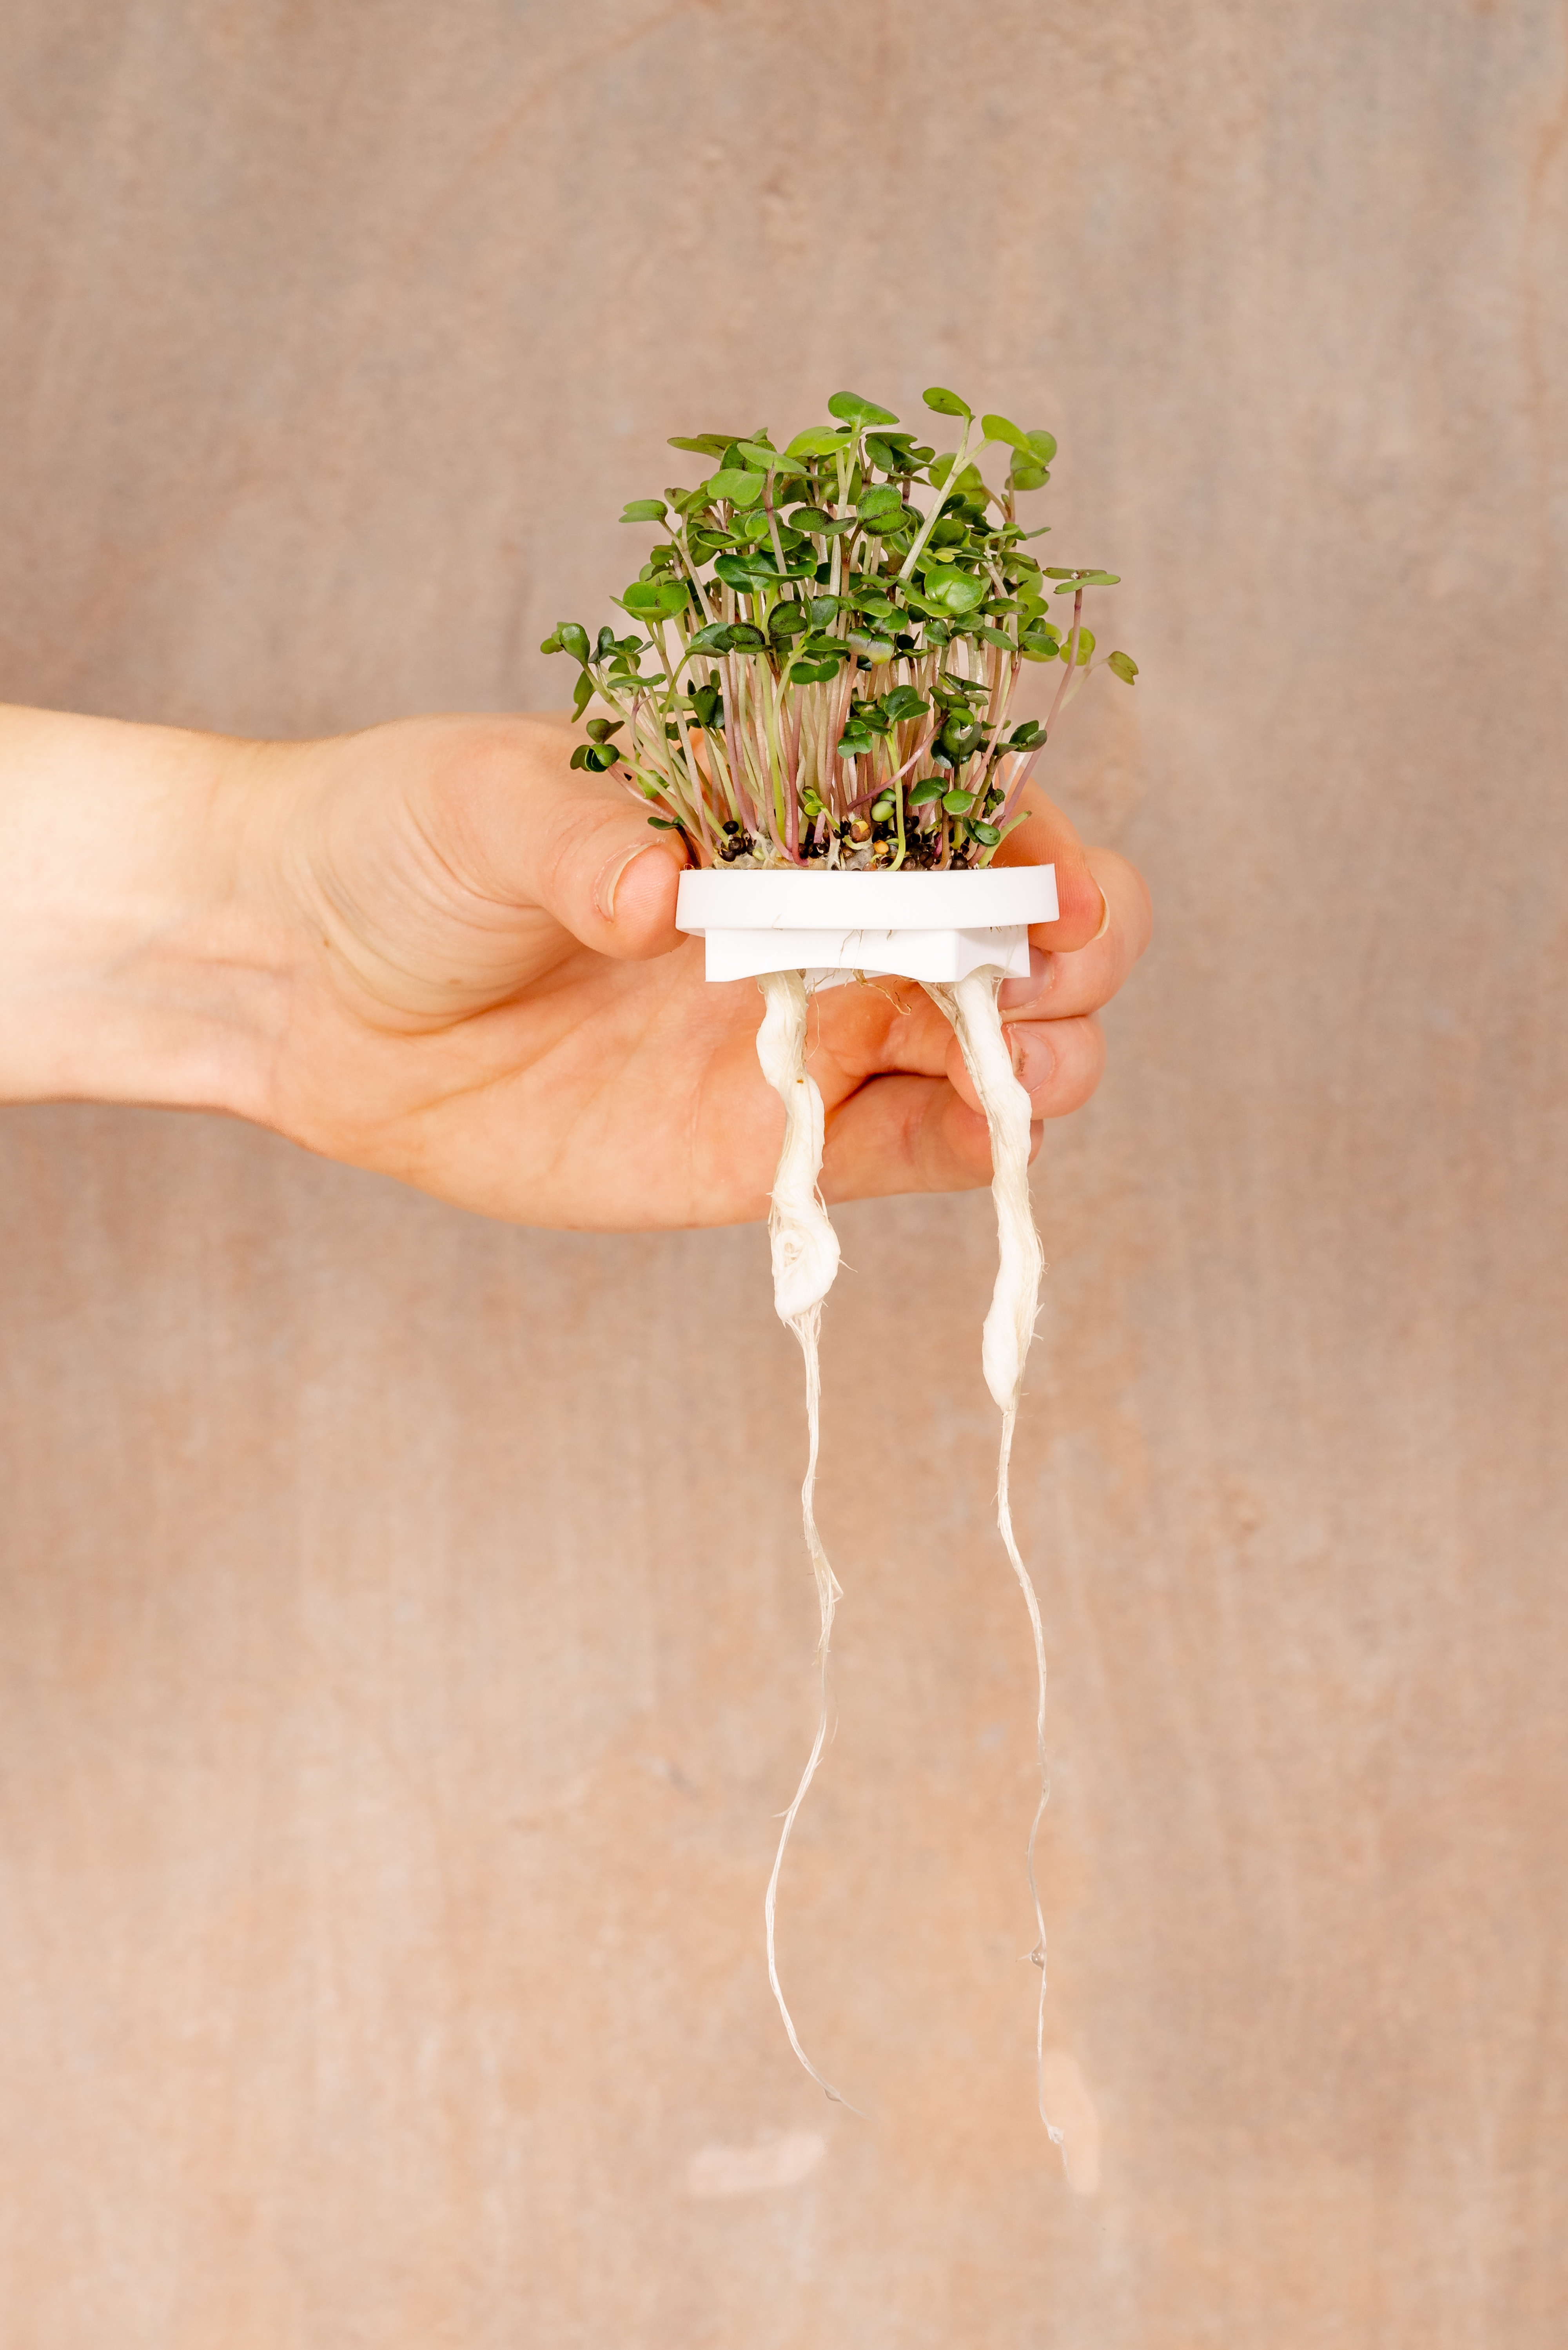
Transplanting Microgreens from Nursery to Gardyn
Once the majority of your Microgreens' cotyledon leaf pairs are fully open, look at the root development beneath the support plate. If you see roots around 2 inches long, you may place the support plate with the seed pad directly onto a yPod on your Gardyn. The longest roots will likely trail down the bamboo wick. It’s okay if not all roots are this length!
Ensure you have plant food in your tank (either a sprout dose or full dose is okay here) and that your Gardyn is not in Germination Mode. The exact location you place the seed pad on your Gardyn does not matter for this stage of growth! Then, run a watering cycle manually by tapping the Water Tile in your app (and tapping “Proceed” if Smart Watering is on) to ensure your seed pads have immediate access to water and plant food.
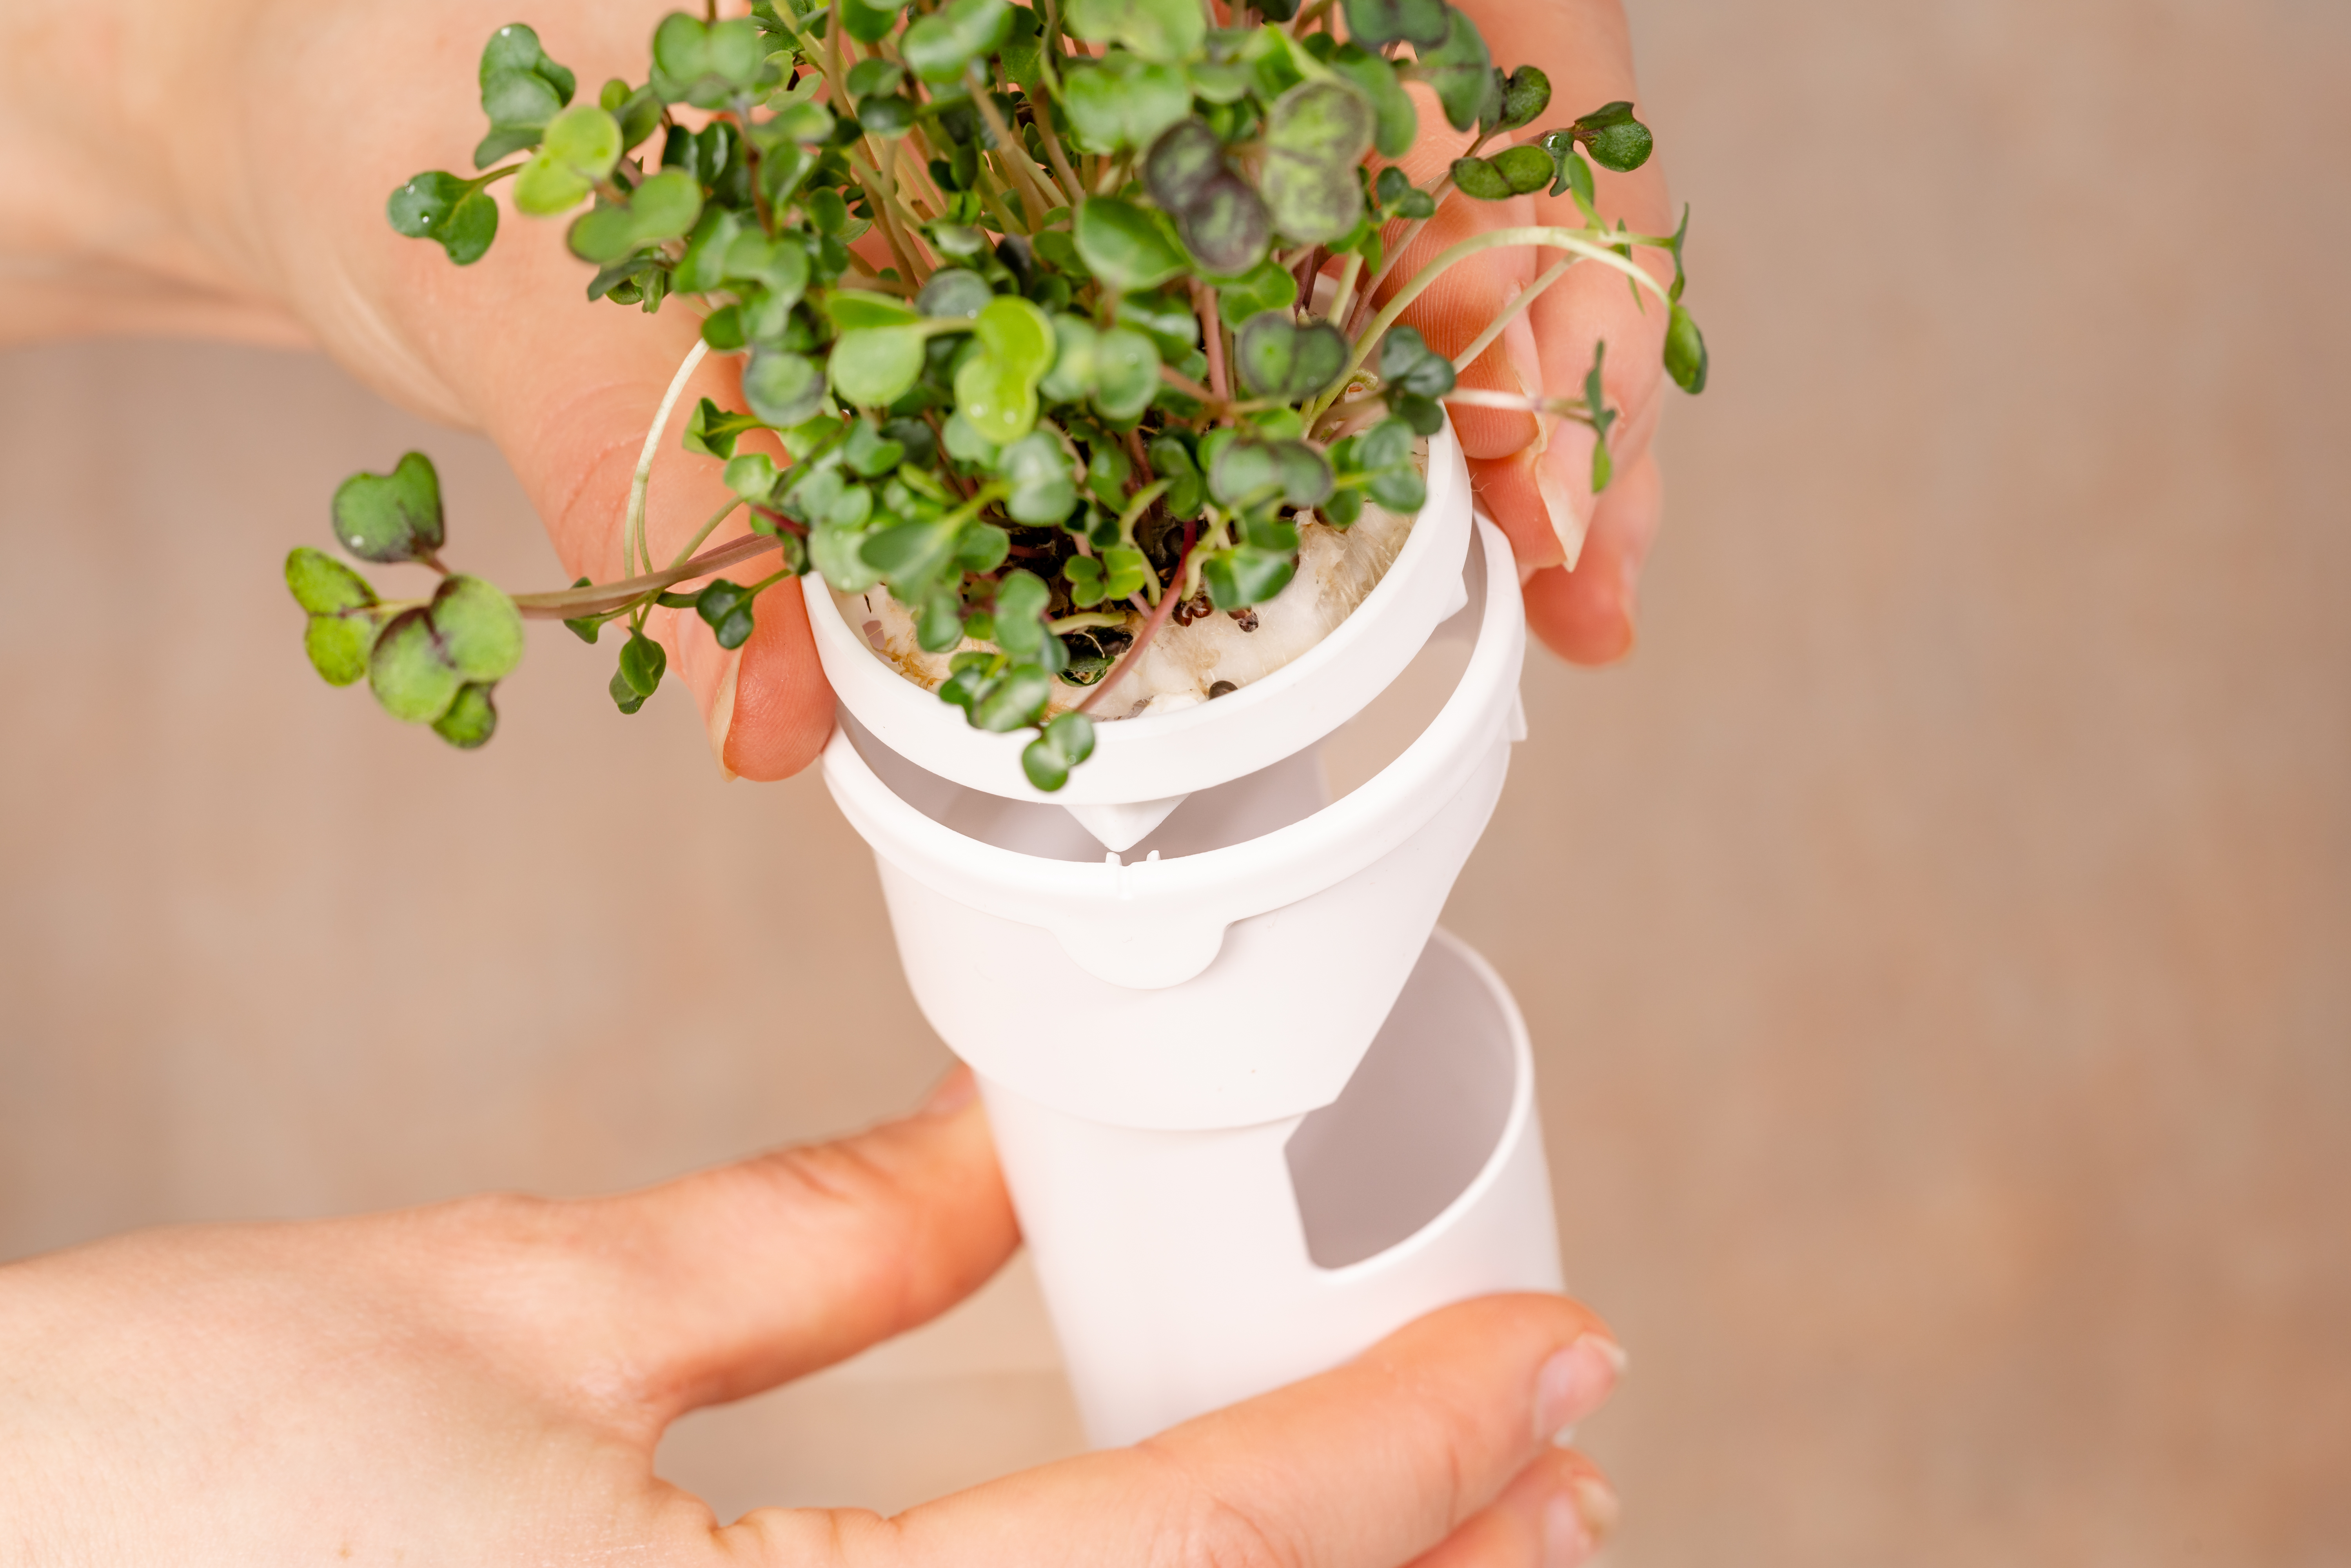
Align the support plate's square corners with the notches in the yPod.
It's important to understand why your Microgreens seed pad is ready for up to a full dose of plant food at this stage, when a typical yCube may not be:
The Microgreens seed pad develops roots much faster than a yCube, so even though there are no true leaves showing, their roots are more robust and able to take up plant food without harming the Microgreens. This follows our guidance on plant food readiness, where roots are just one of three possible indicators that a plant is ready to be nourished, rather than harmed, by a full dose of plant food.
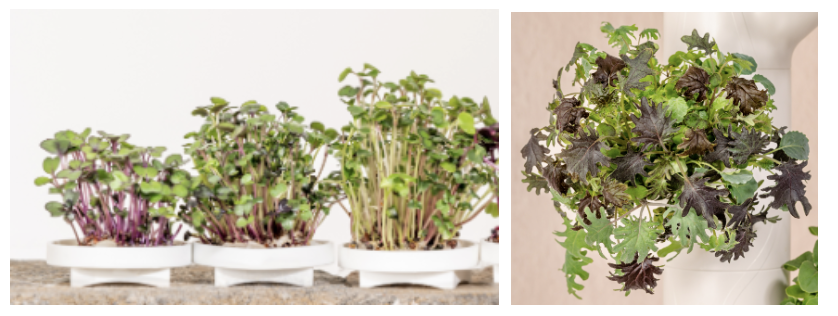
Stage 4: Gardyn Growth for Baby Greens, 22-44 days
Maintain your typical tank care routine of topping off weekly and refreshing monthly to ensure your Baby Greens can thrive with balanced nutrients.
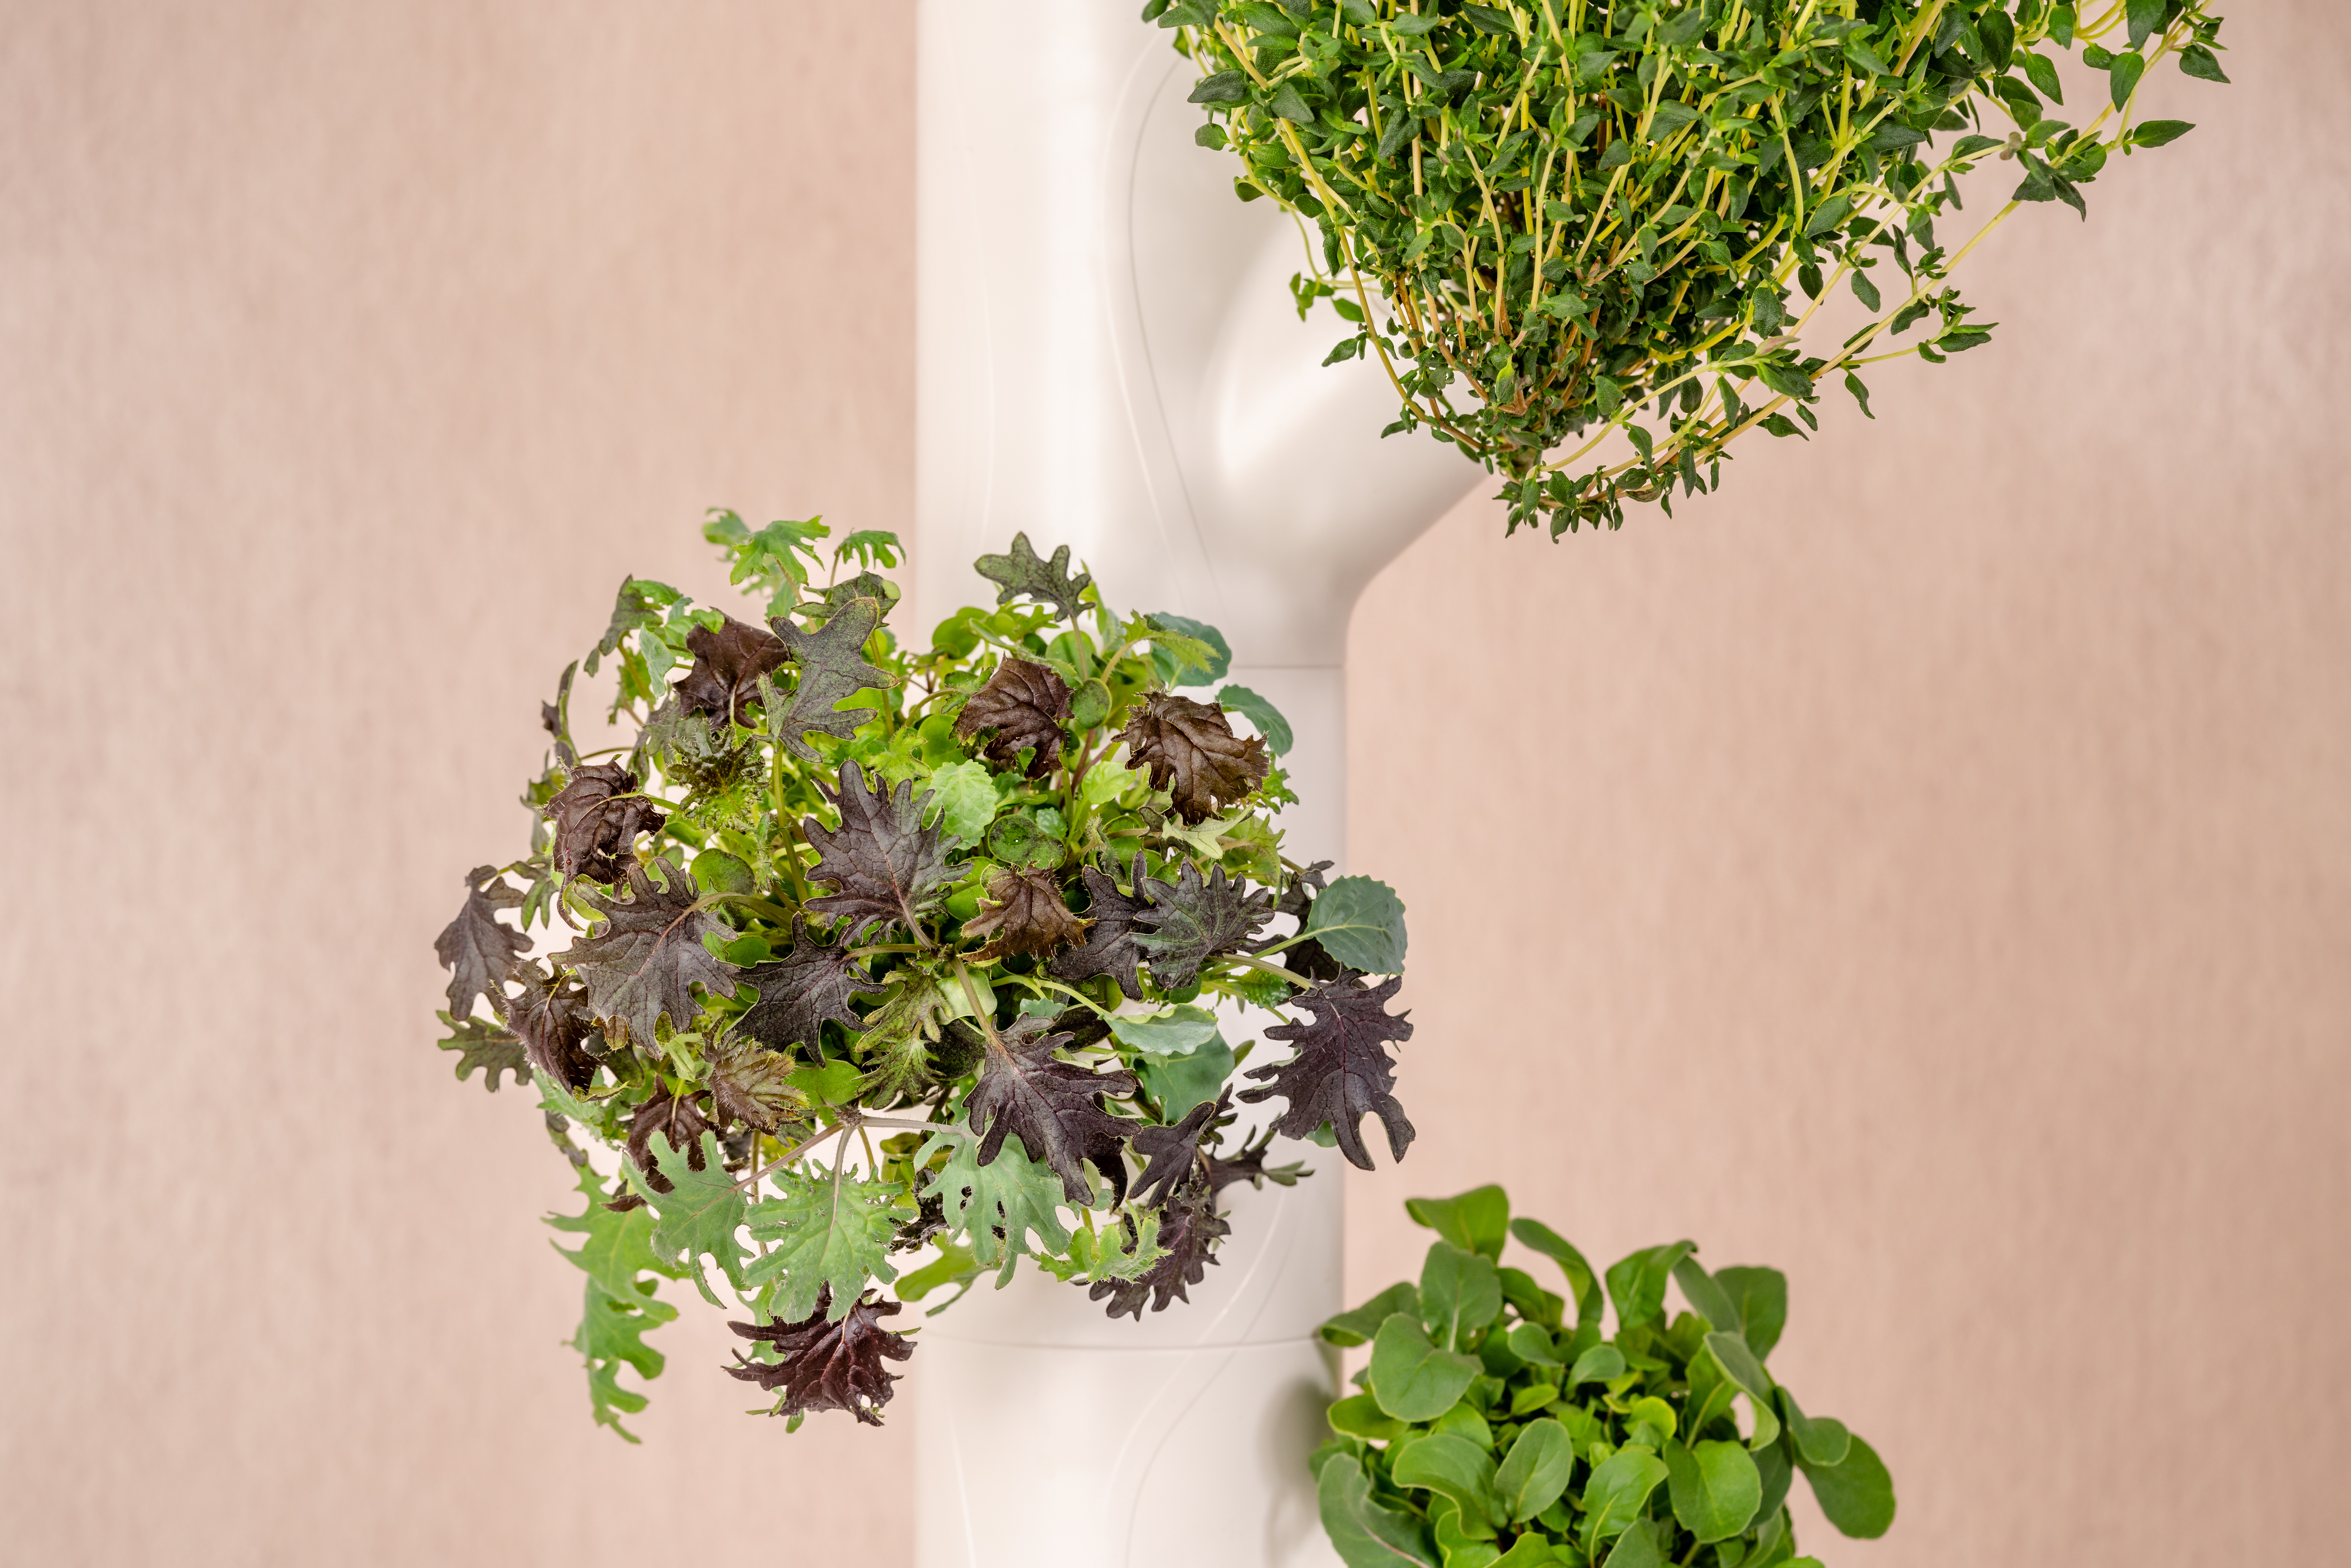
Stage 5: Baby Greens Harvest, 45-75 days
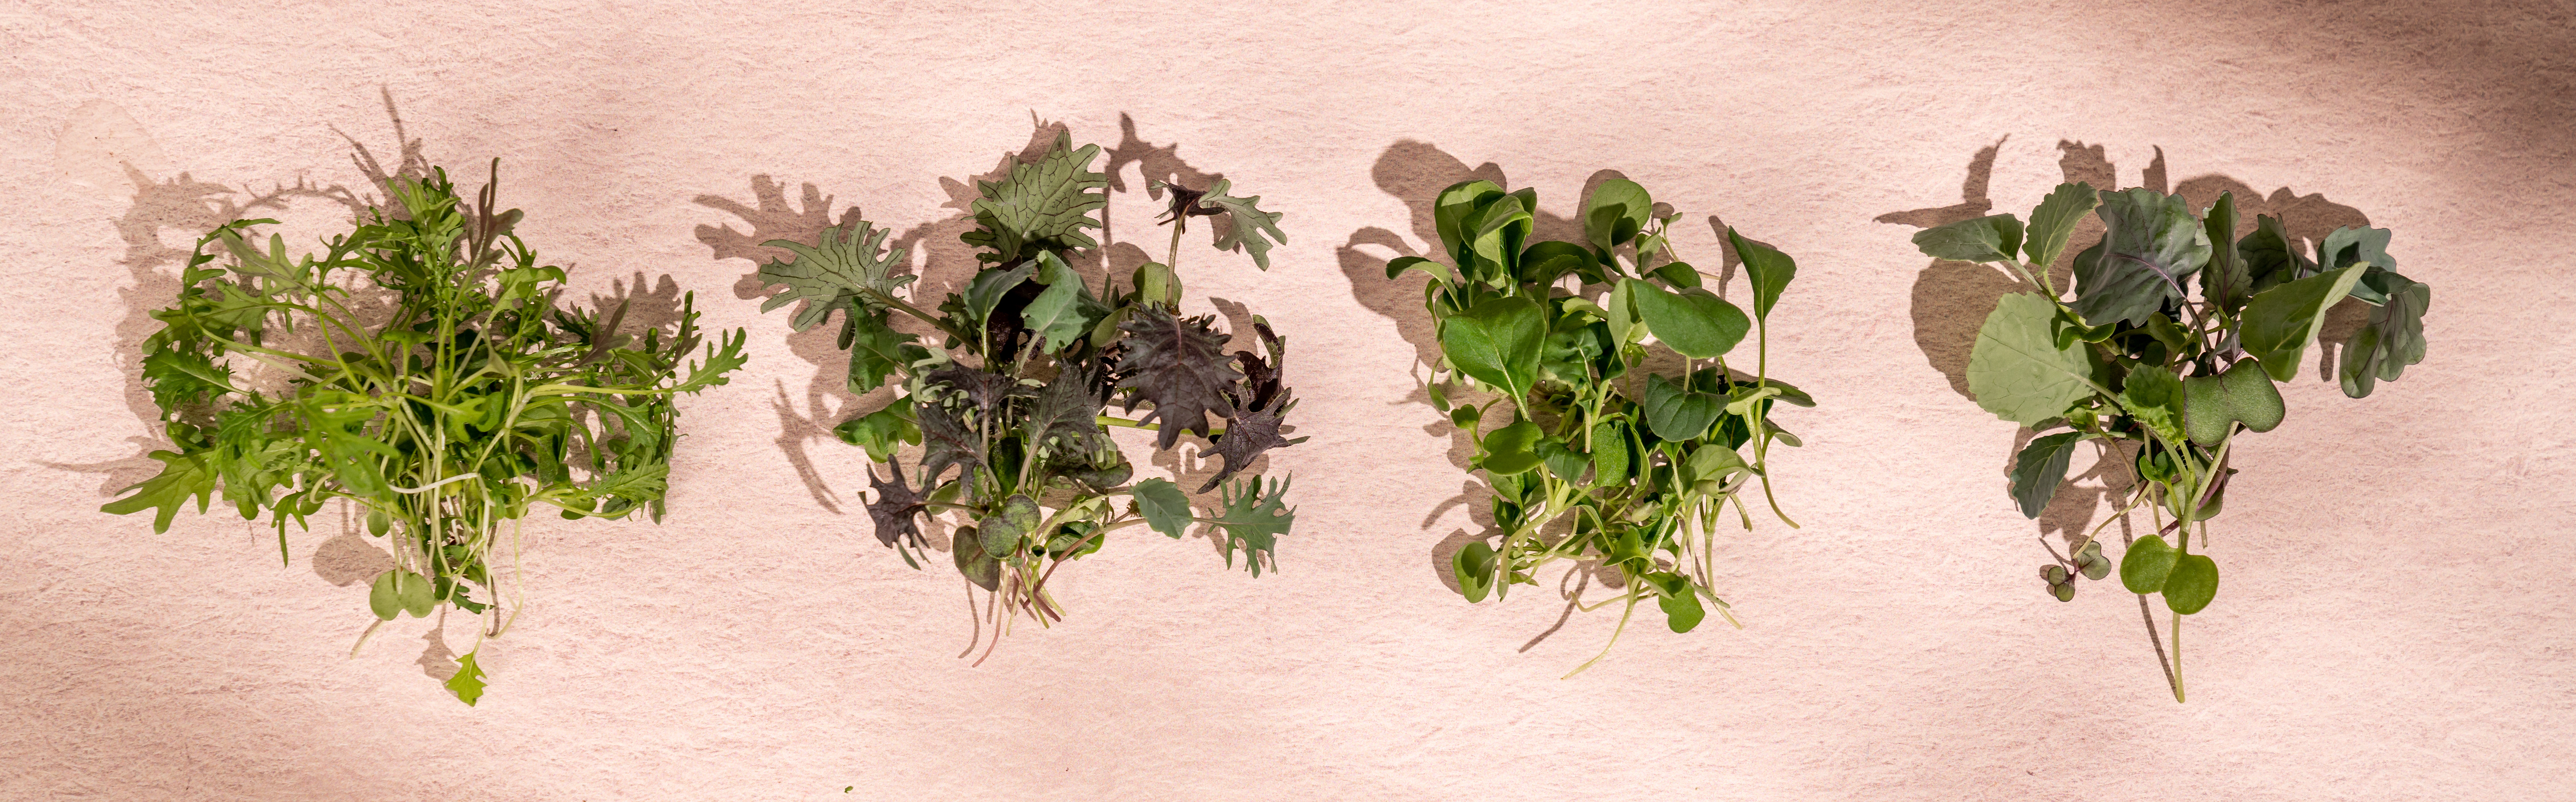
Begin harvesting your Baby Greens either after true leaves have opened on the majority of the pad, or when they are 4-6 inches tall. The exact timing depends on the variety. To harvest, use clean scissors to cut leaves just above the seed pad. We recommend harvesting the entire pad at once.
Stage 6: Compost
You can add the cover paper, bamboo wick, and seed pad directly to your home compost. We recommend reusing your Microgreen plate s(and the nursery, of course!) with new seed pads and wicks.
Questions? Reach us at support@mygardyn.com, or chat with us. We're here to help!