
Assembling & Growing with the Gardyn Trellis
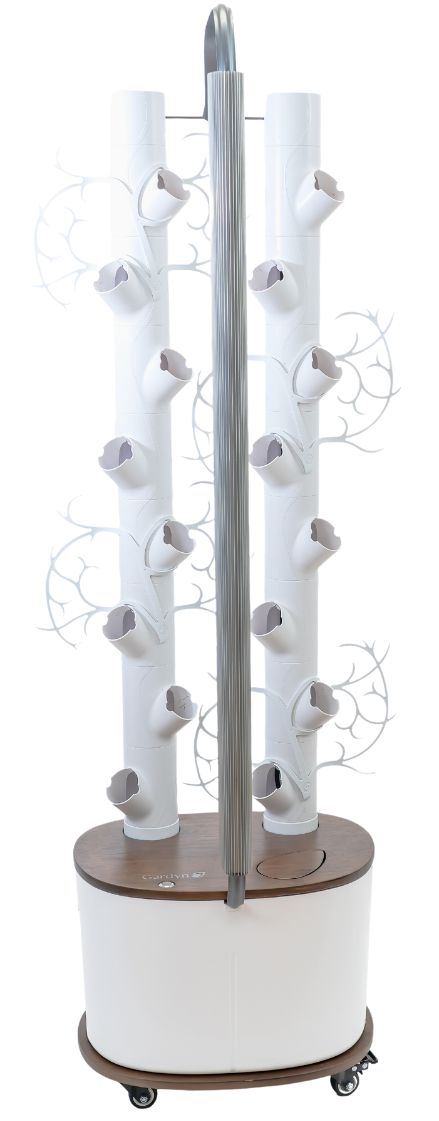
Growing with the Gardyn Trellis is easy and helps your vining plants reach new heights with ease thanks to its unique, flexible design. The trellis fits on both Gardyn Home and Gardyn Studio. Watch the video below to learn how to put it on your Gardyn in a flash!
Attaching the Trellis to your Gardyn
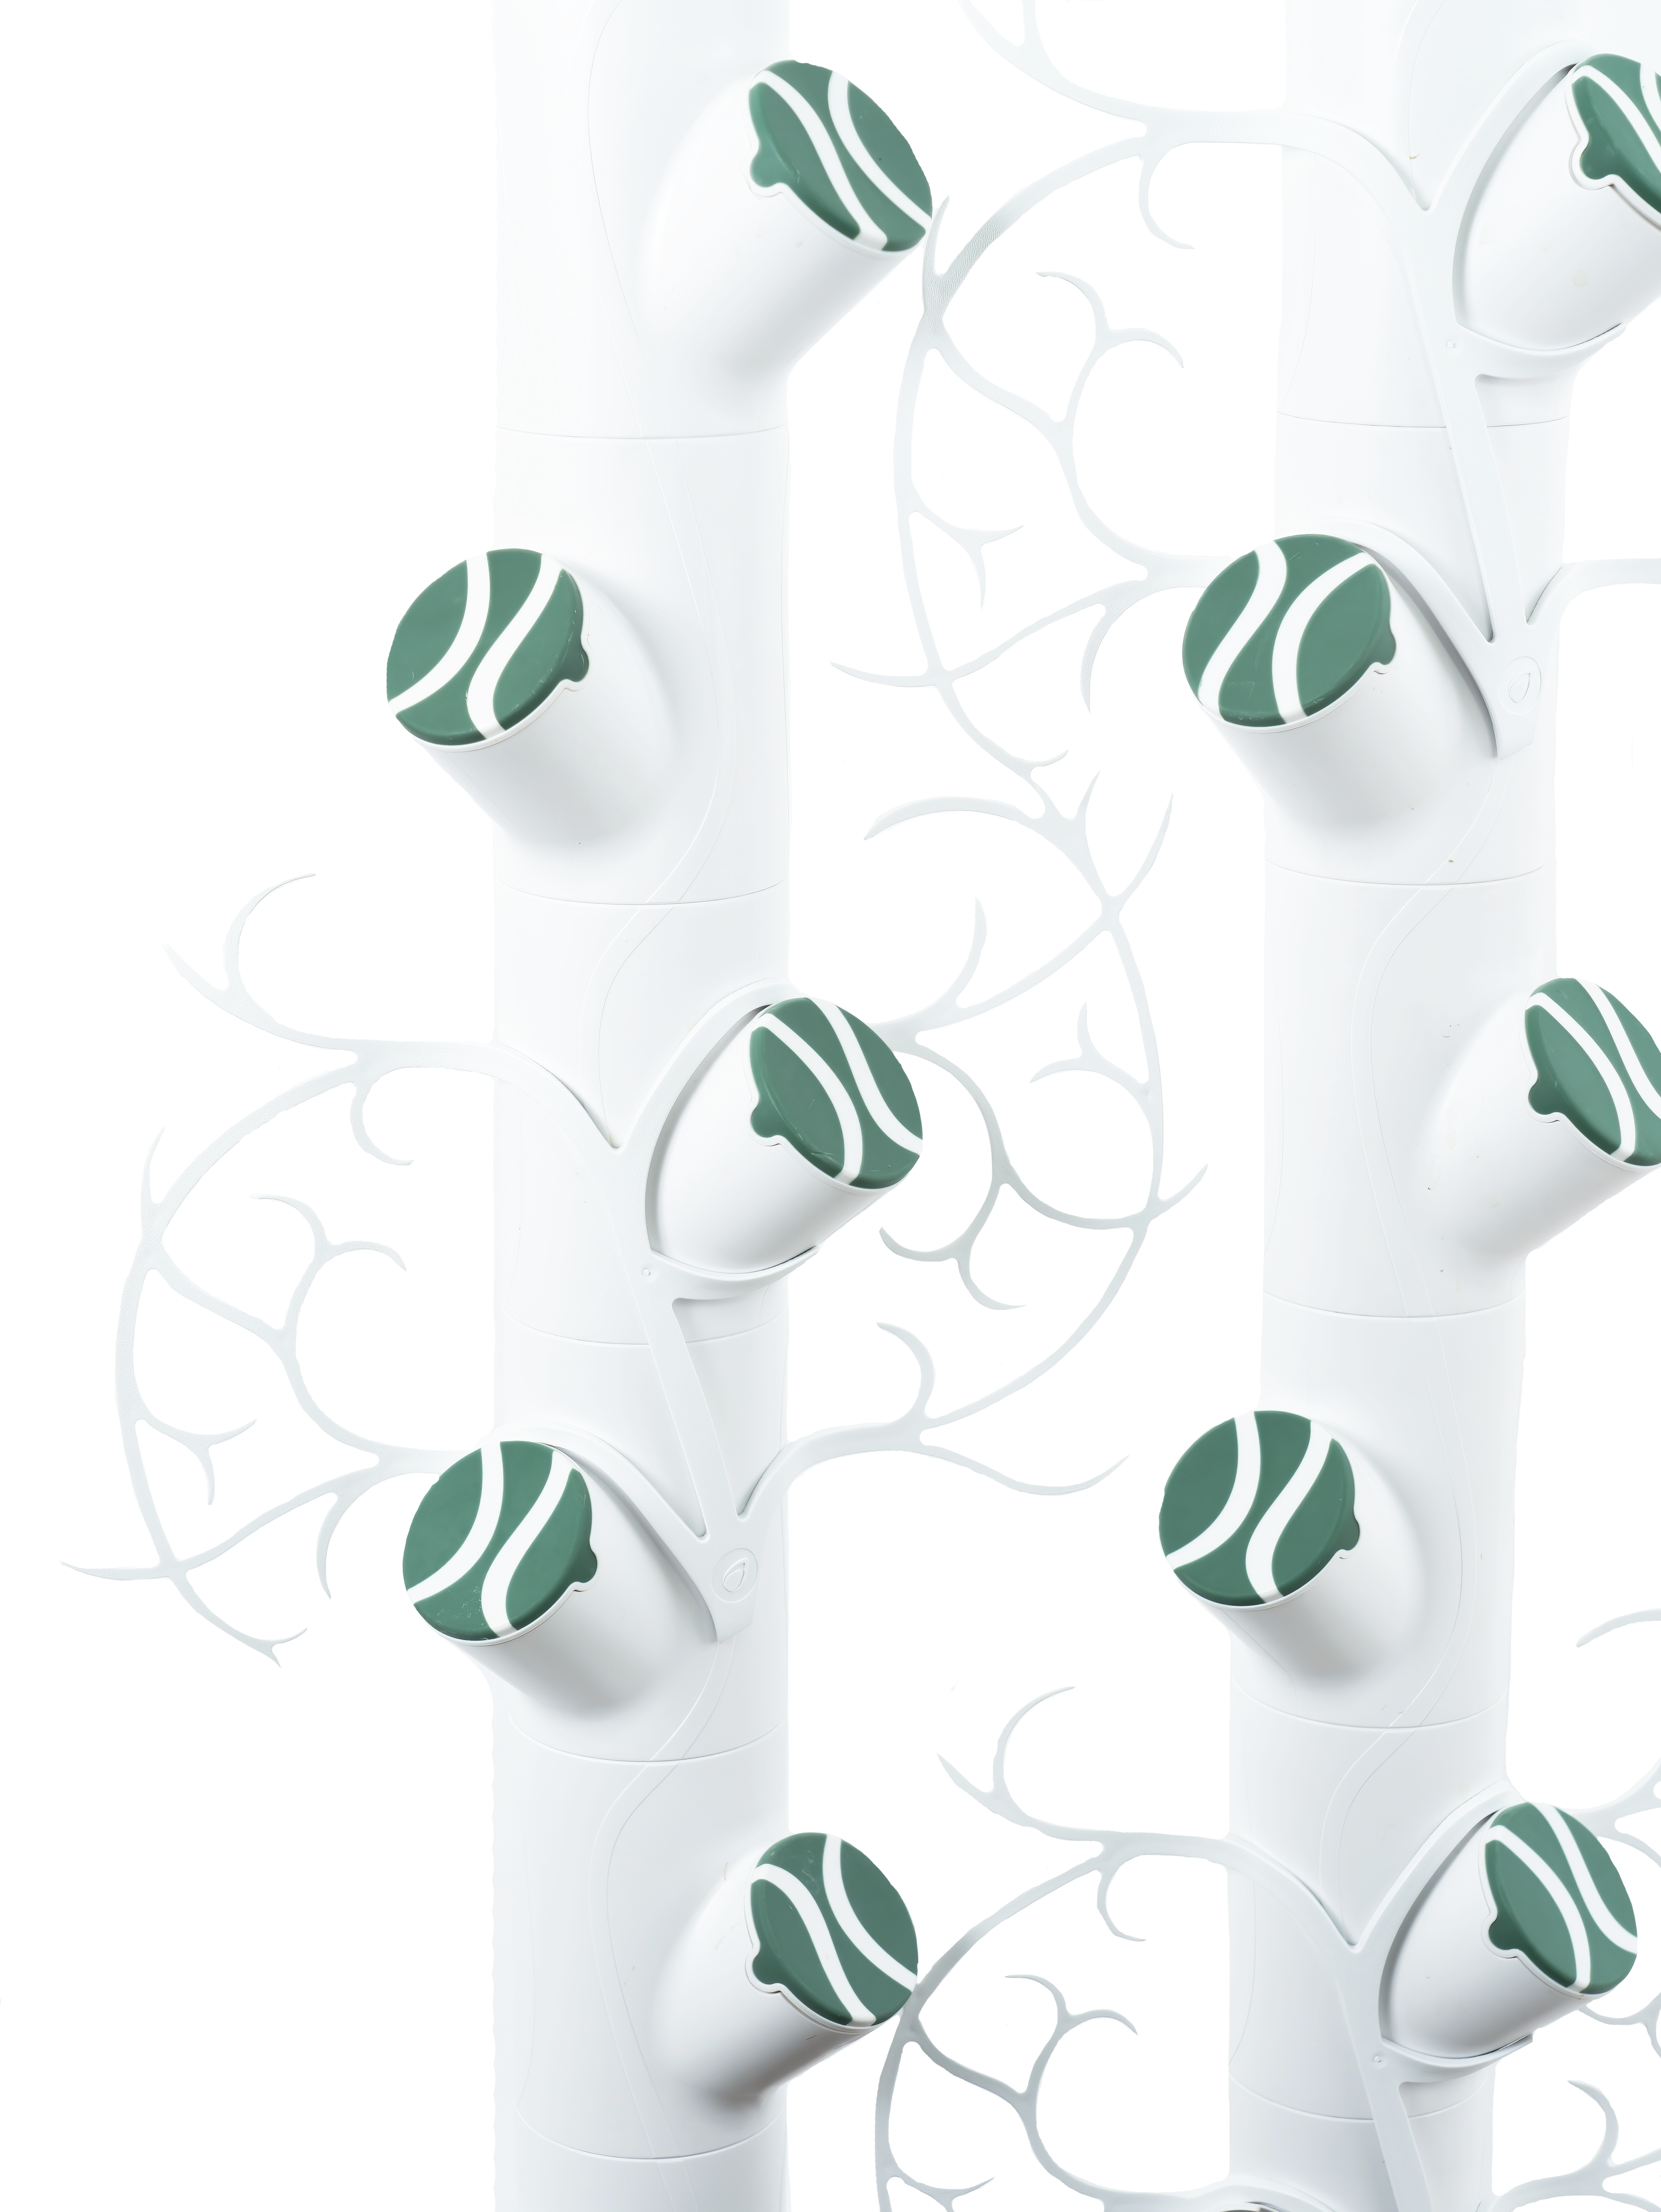
Hold the trellis vertically with the Gardyn leaf symbol facing you.
Hook the upper right branch around the column opening above your vining plant.
Hook the lower left branch around the column opening of your vining plant.
Growing with more than one trellis? On Gardyn Home, you can stack up to 5 on one column, scatter them across columns, or fill your Gardyn with 10 trellises. On Gardyn Studio, you can stack up to 4 on each column, scatter them across columns, or fill your Gardyn with 8 trellises.
Add the trellis as soon as your plant is ready for plant food and when the yCube is in its final spot to mature on your Gardyn.
Adapting already-mature vines to the Trellis
To better support your vining plants that are already grown, carefully weave the top of the vine through the Trellis' outer branches to help it start to attach. As your plant continues to grow, new tendrils will grow and attach to the Trellis, helping your plant stand strong.
Trellis Care
Hand wash the trellis with water and soap between uses.
How to Care for the Roots of Plants Attached to the Trellis
If your plant has grown attached to the trellis (nice work!) you can still check and prune its roots along with the rest of your plants. To do so, carefully remove the plant in its yPod as you would for a usual check, being sure to keep the yPod close to the column so you don't pull too hard and damage your plant. When done, place the plant back in your column to keep growing.
Questions? Reach us at support@mygardyn.com, or chat with us. We're here to help!