
Gardyn Dolly Assembly, Use, & Care Tips
The Gardyn Dolly is the perfect tool designed to hold and transport your Gardyn safely and effortlessly. The Dolly is specially designed and tested to help protect your floors from water, condensation, scratches, and scuff marks.
Assembling the Wheels
The Dolly comes with 4 wheels, 2 of which have locks, and 16 screws. We recommend installing the 2 wheels with locks on the same long side and making this side the front of your Gardyn for easy access to the locks when in use. You'll need a Phillip's head screwdriver to get started.
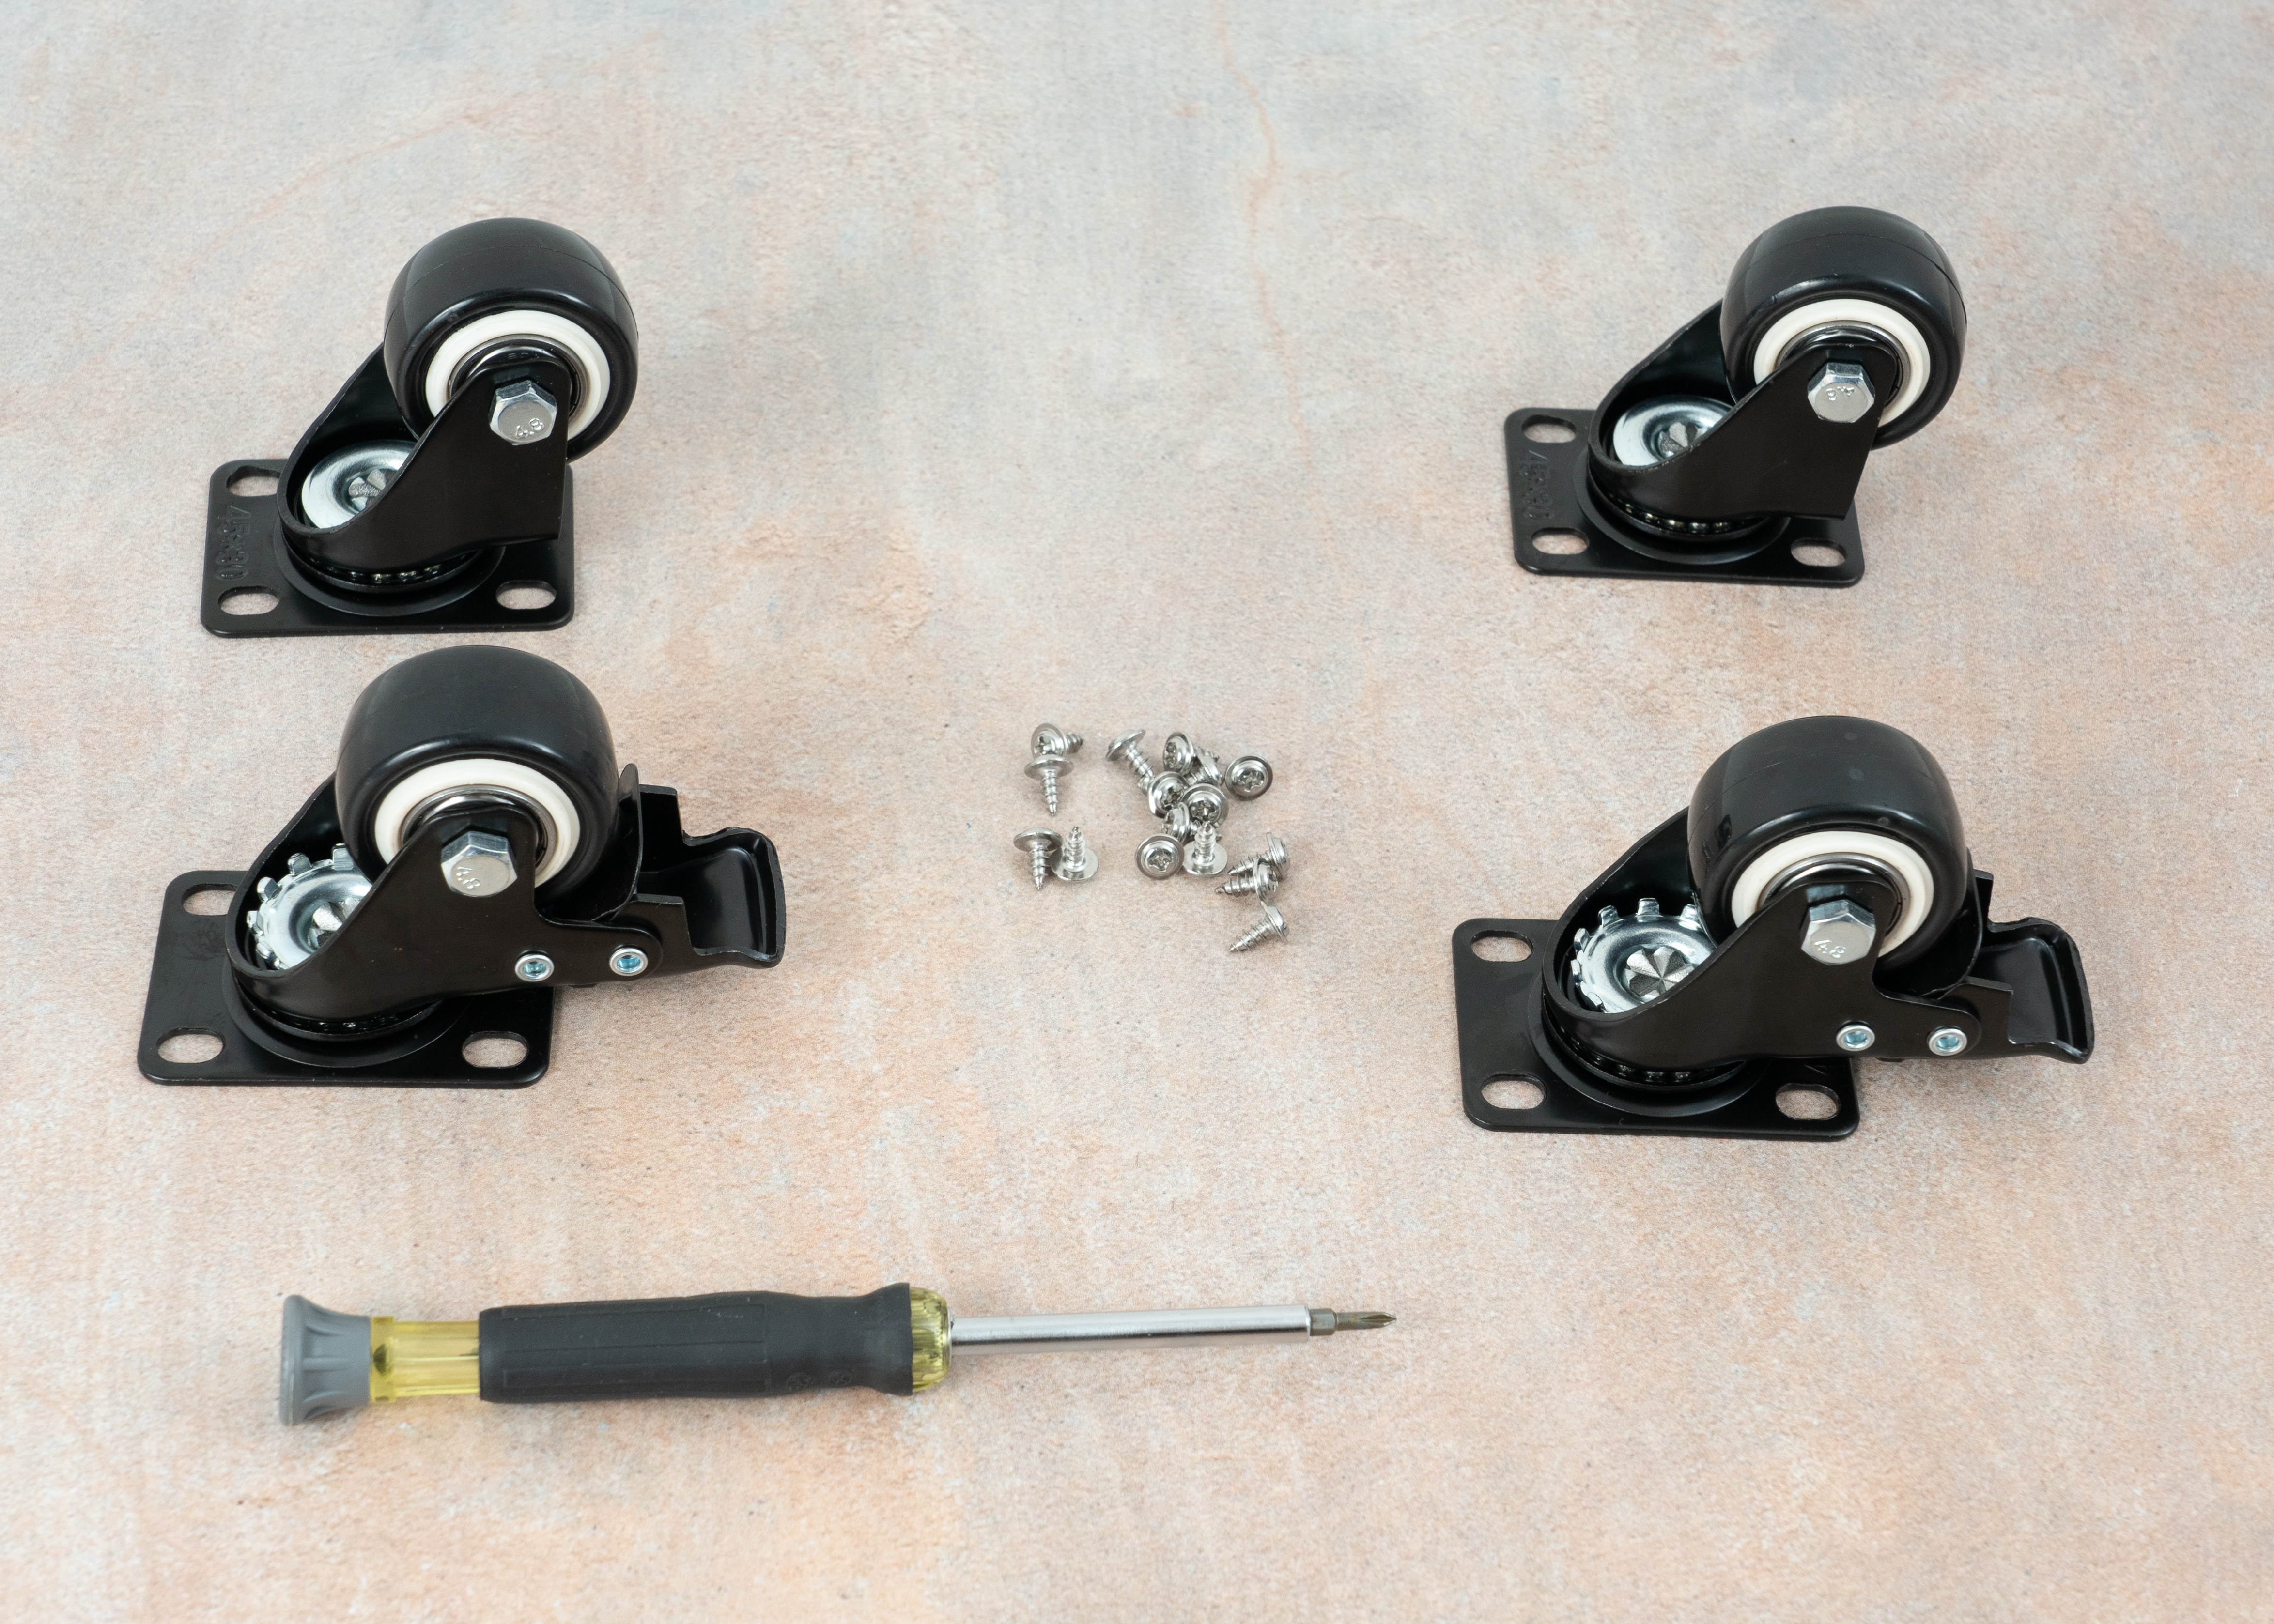
The wheel locks are the black tabs sticking out on the two bottom wheels.
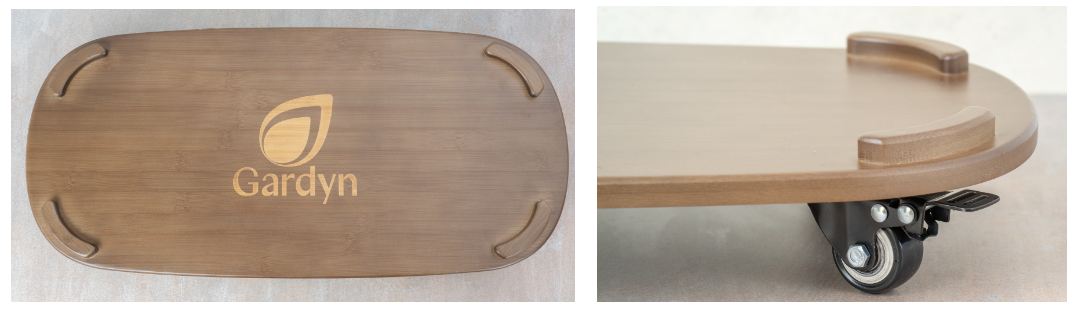
Flip your Dolly upside down, so that the Gardyn logo and ridges are face-down and the 4 indents for the wheels are face-up. It doesn't matter which wheel you start with. Place one wheel in an indent and screw in each corner with 4 screws (provided). You may need to rotate the wheel to reach each screw hole.
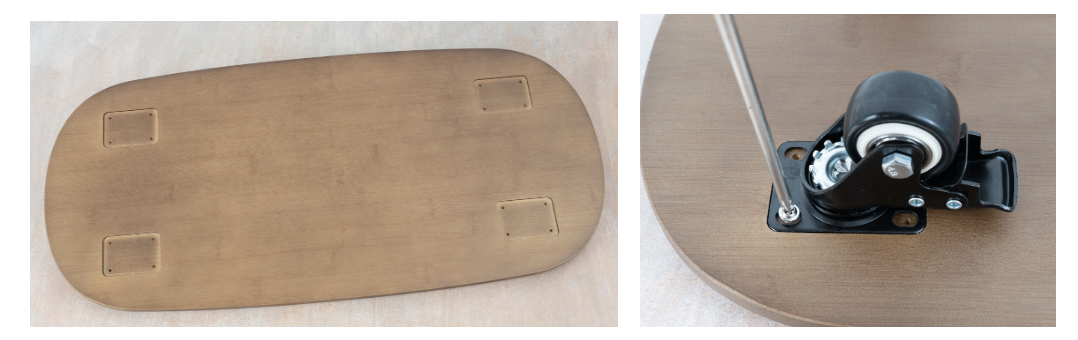
The underside of the Dolly; screwing in a wheel
Repeat until all 4 wheels are installed. You can test the brakes by flipping the Dolly right-side up and pushing the locks down. Lift the tabs back up to release the locks.
Use
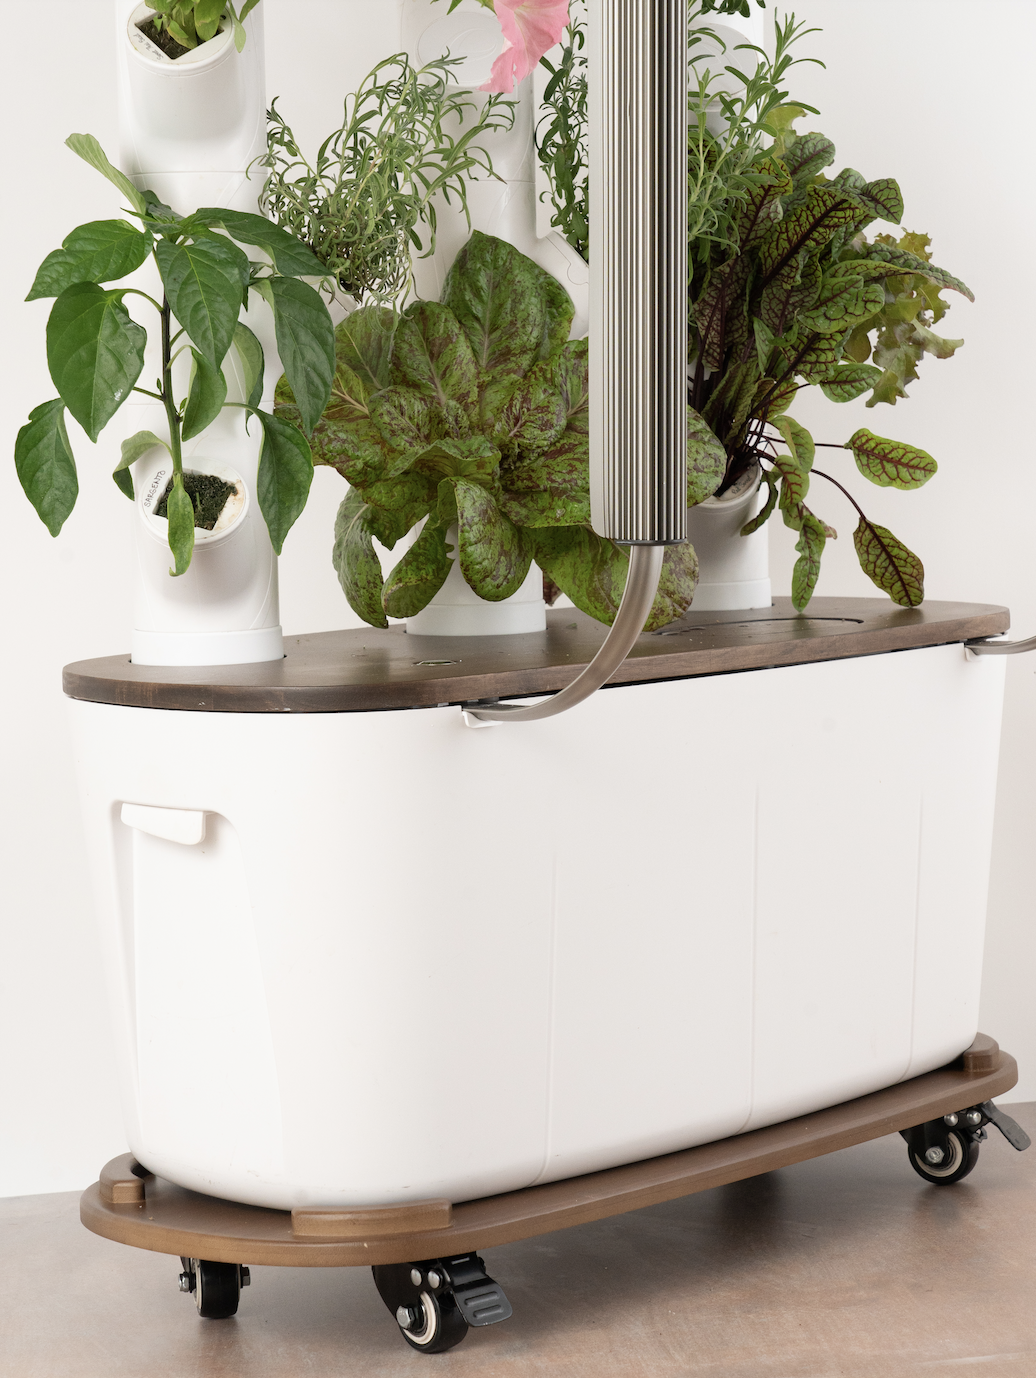
To use the Dolly, place your Gardyn's water tank on top when the upper half of your Gardyn is removed, such as when you're doing a tank refresh. Align your water tank in the center so that the 4 outer ridges hold it snugly in place.
Whether you're moving just your water tank around or your whole Gardyn, the Dolly's ridges keep it in place during transport while the wheel locks secure its position when stationary.
To engage the wheel locks, press down on the tab on each wheel. Lift the tabs back up to release.
Care
Wipe away any water that accidentally gets on the Dolly with a clean, dry cloth.
Questions? Reach us at support@mygardyn.com, or chat with us! We're here to help.